Love this? Save it for later!
Share the inspiration with your friends
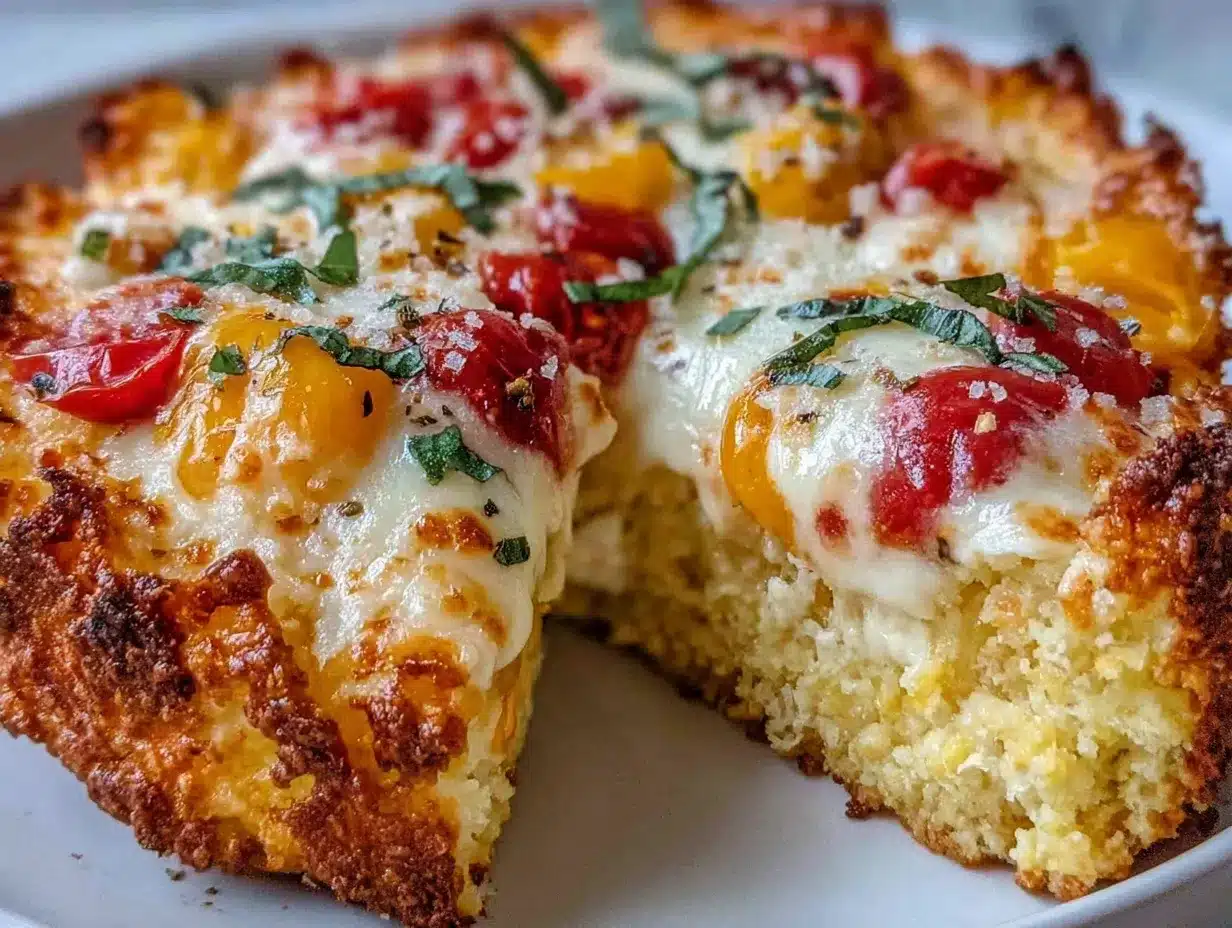
“I never thought I’d get this excited about pizza crust,” my friend Mark confessed last Friday night as we gathered around his tiny kitchen island. You see, Mark isn’t exactly the adventurous type when it comes to cooking, and gluten-free? That was a whole different universe for him. But that evening, he pulled out a baking sheet with what looked like a perfectly golden, crisp pizza crust that smelled absolutely irresistible. It wasn’t just any pizza crust—it was a crispy gluten-free pizza crust perfect for homemade pizzas, and honestly, it changed the game for both of us.
It all started because Mark’s sister had recently been diagnosed with gluten intolerance, and they’d been struggling to find a pizza crust that didn’t fall apart or taste like cardboard. He was skeptical when I told him I’d been tinkering with a recipe that could deliver that satisfying crunch and chew without gluten, but after a few tries and an accidental mix-up with the baking powder (don’t ask), this version emerged as the clear winner. Maybe you’ve been there—trying to replicate that familiar comfort food but hitting wall after wall with texture and flavor.
The secret? It’s in the mix of gluten-free flours, a little patience for the dough to rest, and a hot oven that gives the crust its signature crisp edge. Let me tell you, the first bite had us both closing our eyes and nodding in approval. Since that night, Mark’s kitchen has seen this crust many times, topped with everything from classic margherita to spicy sausage and roasted peppers. If you’re ready to make your own crispy gluten-free pizza crust that holds up to all your favorite toppings, stick around—I’m sharing the full recipe and all my tips to get it just right.
Why You’ll Love This Recipe
This crispy gluten-free pizza crust perfect for homemade pizzas isn’t just another attempt at gluten-free baking. I’ve tested it countless times (sometimes with a distracted toddler underfoot, mind you) to strike the balance between crunch, flavor, and ease. Here’s why it’s a winner:
- Quick & Easy: Ready in about 45 minutes from start to finish, making it a great option for busy weeknights or spontaneous pizza cravings.
- Simple Ingredients: Uses pantry staples like rice flour, tapioca starch, and xanthan gum—no rare ingredients or specialty stores required.
- Perfect for Any Occasion: Whether it’s a cozy dinner or a weekend pizza party, this crust impresses without the stress.
- Crowd-Pleaser: Friends and family alike have been surprised to find it’s gluten-free—kids even ask for seconds!
- Unbelievably Delicious: The crust comes out golden and crispy on the outside, yet tender inside, with a flavor that’s mild but satisfying.
Unlike many gluten-free crusts that can be gummy or crumbly, this recipe includes a little trick with tapioca starch that gives the dough elasticity and that much-desired chewiness. Plus, resting the dough before baking helps the flours hydrate properly, so no more weird dry patches or soggy bottoms. Honestly, it’s the kind of crust that makes you forget it’s gluten-free at all—and that’s why I keep coming back to it.
What Ingredients You Will Need
This recipe uses simple, wholesome ingredients to deliver bold flavor and satisfying texture without the fuss. You probably already have most of these in your pantry, and if not, they’re easy to find at most grocery stores or online.
- Rice flour (1 ¾ cups / 210 g): The base flour, providing a neutral flavor and light texture.
- Tapioca starch (¾ cup / 90 g): Adds chewiness and crispness to the crust.
- Xanthan gum (1 teaspoon): Helps bind the dough for elasticity—essential in gluten-free baking.
- Baking powder (1 teaspoon): Gives a subtle lift to the crust, making it light.
- Salt (½ teaspoon): Balances the flavors.
- Warm water (1 cup / 240 ml): Hydrates the dough for proper consistency.
- Olive oil (2 tablespoons): Adds richness and helps crisp the crust.
- Honey or maple syrup (1 teaspoon): A touch of sweetness to round out the flavor (optional but recommended).
If you want to swap out rice flour for a gluten-free all-purpose blend, that works too—just make sure it contains xanthan gum or add a bit extra. For a dairy-free or vegan version, replacing honey with maple syrup keeps it sweet and compliant. When I pick ingredients, I usually reach for Bob’s Red Mill rice flour and tapioca starch—they give consistent results with a clean flavor.
Equipment Needed
Making the perfect crispy gluten-free pizza crust doesn’t require fancy gadgets, but a few tools will make the process smoother:
- Mixing bowls: One large bowl for combining dry ingredients, and another for wet.
- Whisk and spatula: For blending the dough evenly.
- Measuring cups and spoons: Precision matters here, especially with gluten-free flours.
- Baking sheet or pizza stone: A pizza stone gives the best crispness but a rimmed baking sheet lined with parchment paper works just fine.
- Rolling pin or hands: You can roll out the dough or gently press it with your fingers for a rustic look.
- Oven mitts: Because hot pizza crusts are no joke!
If you don’t have a pizza stone, try preheating a heavy baking sheet in the oven to mimic the effect. Also, keeping your rolling pin lightly dusted with rice flour prevents sticking. I once tried using a silicone mat for rolling, but it made the dough too slippery, so I stick with parchment paper for easy transfer.
Preparation Method
- Preheat your oven to 450°F (230°C). If using a pizza stone, place it in the oven to heat up while you prepare the dough—this step is key for crispiness. (Approx. 15 minutes)
- Mix dry ingredients: In a large bowl, whisk together 1 ¾ cups rice flour, ¾ cup tapioca starch, 1 teaspoon xanthan gum, 1 teaspoon baking powder, and ½ teaspoon salt. Make sure everything is evenly combined. (5 minutes)
- Combine wet ingredients: In a separate bowl, mix 1 cup warm water, 2 tablespoons olive oil, and 1 teaspoon honey or maple syrup until well blended.
- Form the dough: Pour the wet mixture into the dry ingredients. Stir with a spatula until a sticky dough forms. It should be moist but hold together without being runny. If too dry, add a tablespoon more water; if too wet, sprinkle a little more rice flour.
- Rest the dough: Let the dough sit for 10 minutes at room temperature. This gives the flours time to absorb moisture fully, which improves the texture. (Patience here makes a big difference!)
- Shape the crust: Place parchment paper on a baking sheet or pizza peel. Lightly dust your hands and the dough with rice flour, then spread or roll the dough into a thin circle about 12 inches (30 cm) in diameter. Don’t worry about perfection; a rustic edge adds character.
- Pre-bake the crust: Transfer the dough (on the parchment) onto the hot pizza stone or baking sheet. Bake for 10–12 minutes until the edges start to turn golden and the surface looks set but not browned.
- Add toppings: Remove the crust from the oven carefully. Add your favorite sauce, cheese, and toppings. (Tip: avoid soggy veggies by patting them dry.)
- Final bake: Return the pizza to the oven and bake for another 8–10 minutes until the cheese melts and the crust is crisp and golden brown.
- Cool and serve: Let the pizza cool for a couple of minutes before slicing. This helps the crust firm up further. (Trust me, it’s worth the wait!)
Cooking Tips & Techniques
Getting that perfect crispy gluten-free pizza crust can feel tricky, but a few tricks make a huge difference:
- Hot oven is your friend: Baking at 450°F (230°C) or higher ensures the crust crisps quickly without drying out. Don’t skip preheating your pizza stone or baking sheet.
- Don’t skip the dough rest: Even 10 minutes makes the flours hydrate better, which prevents crumbly or gummy textures.
- Use parchment paper for easy handling: Gluten-free dough is stickier and more delicate, so parchment helps transfer your crust without tearing.
- Don’t overload with toppings: Too many wet ingredients can weigh down the crust and make it soggy. Keep it balanced.
- Experiment with thickness: Thinner crusts bake crisper and faster, while thicker ones are chewier. Find what suits your taste.
- Personal note: I once forgot to add baking powder—resulted in a flat, dense crust that was still edible but not nearly as delightful. Lesson learned: double-check your ingredients!
Variations & Adaptations
This recipe adapts well to different tastes and dietary needs:
- Herbed crust: Add 1 teaspoon dried oregano or Italian seasoning to the dry mix for a fragrant twist.
- Low-carb option: Substitute half the rice flour with almond flour for a nuttier flavor and fewer carbs. Note: the texture will be a bit denser.
- Vegan adaptation: Use maple syrup instead of honey, and load your pizza with plant-based cheese and veggies.
- Cooking method tweak: Try grilling the crust for a smoky flavor—pre-bake it, then grill topped pizza for 2-3 minutes.
- Personal experiment: Once I added a tablespoon of nutritional yeast to the dough for a subtle cheesy note—surprisingly good!
Serving & Storage Suggestions
Serve your crispy gluten-free pizza crust hot from the oven for the best texture and flavor. It pairs wonderfully with a crisp green salad or a light glass of red wine to balance the richness.
If you have leftovers, store them wrapped tightly in the refrigerator for up to 2 days. To reheat, pop slices in a hot skillet or toaster oven for a few minutes to regain that crispness. Avoid microwaving if you want to keep the crunch intact.
Frozen leftover crust (plain or topped) can be stored in an airtight container or zip-top bag for up to one month. Thaw in the fridge overnight and reheat as above.
Interestingly, the flavor of the crust deepens a bit after resting in the fridge, so sometimes I prepare it a day ahead and bake it fresh when guests arrive.
Nutritional Information & Benefits
This pizza crust is naturally gluten-free, making it a great choice for those with gluten sensitivities or celiac disease. It’s also free from added sugars and uses simple ingredients you can trust.
Rice flour is a good source of energy and easy to digest, while tapioca starch provides carbohydrates for quick fuel. Olive oil contributes healthy fats, which support heart health. If you’re watching gluten intake but still craving pizza, this crust offers comfort without compromise.
Keep in mind it’s not low-calorie, but in moderation, it fits nicely into balanced meals. If allergies are a concern, verify your xanthan gum source and consider substitutes like guar gum if needed.
Conclusion
If you’ve been hunting for a crispy gluten-free pizza crust perfect for homemade pizzas that really delivers, this recipe is worth a try. It’s straightforward, forgiving, and yields a crust that’s crispy, chewy, and full of flavor. I love it because it brings the joy of pizza night back to my kitchen without the usual gluten-free hassles.
Feel free to tweak the toppings or flour blends to match your preferences—this crust plays well with just about anything. I’d love to hear about your own twists or how it worked out for you, so drop a comment below and share your pizza adventures!
Now, let’s get baking and turn your kitchen into the coziest pizzeria in town!
FAQs
Can I make the dough ahead of time?
Yes! You can prepare the dough and refrigerate it for up to 24 hours before shaping and baking. Just bring it to room temperature before rolling out.
What if I don’t have tapioca starch?
Tapioca starch is key for the chewy texture, but you can try replacing it with arrowroot powder or cornstarch in equal amounts, though results may vary slightly.
How do I prevent the crust from being soggy?
Pre-baking the crust before adding toppings and avoiding overly wet ingredients helps keep it crisp. Also, make sure your oven is fully preheated and hot enough.
Is this recipe nut-free?
Yes, the base recipe is nut-free unless you substitute with almond flour or add toppings containing nuts.
Can I freeze the dough or baked crust?
You can freeze both! For dough, wrap tightly and freeze for up to a month. Thaw overnight in the fridge before using. For baked crust, freeze after cooling and reheat in the oven.
Pin This Recipe!
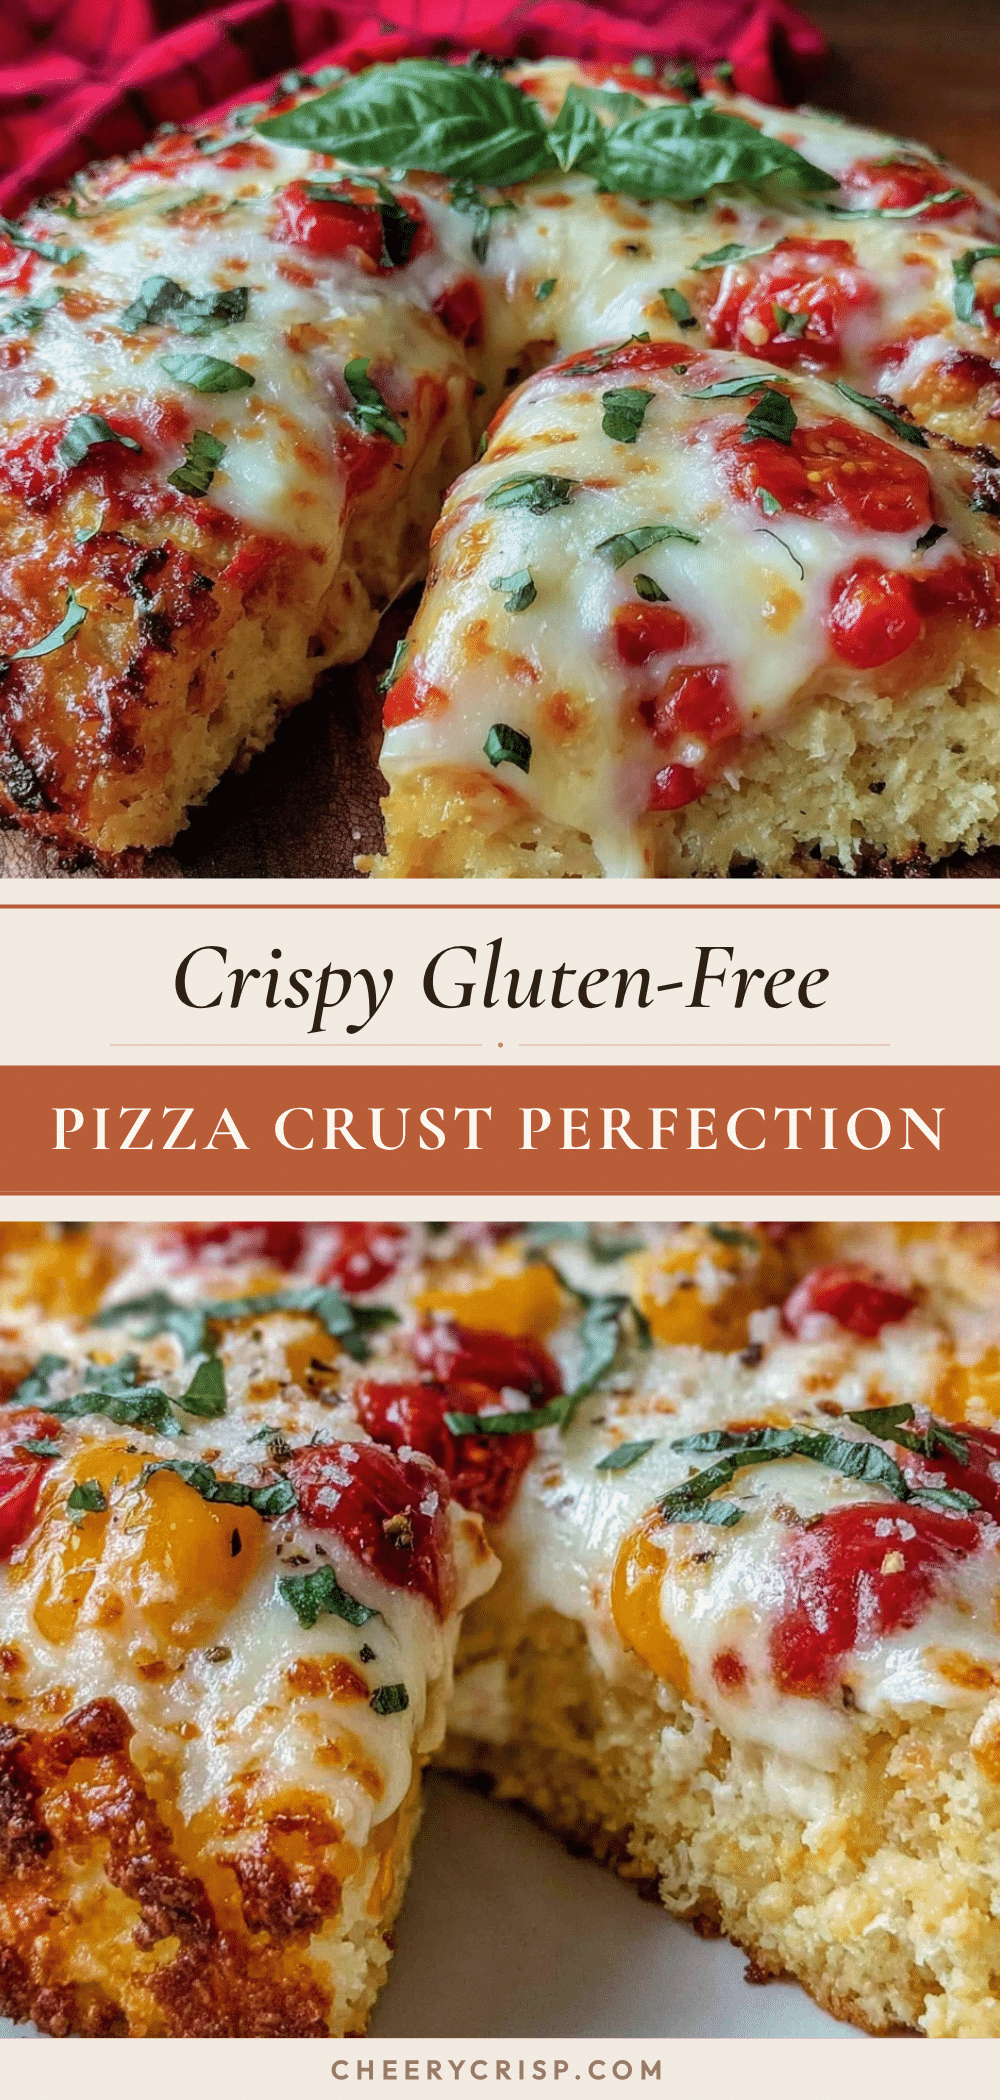
Crispy Gluten-Free Pizza Crust Recipe Easy Perfect for Homemade Pizzas
A crispy, chewy gluten-free pizza crust perfect for homemade pizzas that is quick, easy, and uses simple pantry ingredients. This crust delivers a golden, crisp edge with a tender inside, suitable for all your favorite toppings.
- Prep Time: 15 minutes
- Cook Time: 20 minutes
- Total Time: 45 minutes
- Yield: 1 12-inch pizza (4 servings) 1x
- Category: Main Course
- Cuisine: American
Ingredients
- 1 ¾ cups (210 g) rice flour
- ¾ cup (90 g) tapioca starch
- 1 teaspoon xanthan gum
- 1 teaspoon baking powder
- ½ teaspoon salt
- 1 cup (240 ml) warm water
- 2 tablespoons olive oil
- 1 teaspoon honey or maple syrup (optional but recommended)
Instructions
- Preheat your oven to 450°F (230°C). If using a pizza stone, place it in the oven to heat up while you prepare the dough (about 15 minutes).
- In a large bowl, whisk together rice flour, tapioca starch, xanthan gum, baking powder, and salt until evenly combined (about 5 minutes).
- In a separate bowl, mix warm water, olive oil, and honey or maple syrup until well blended.
- Pour the wet mixture into the dry ingredients and stir with a spatula until a sticky dough forms. Adjust consistency by adding more water or rice flour if needed.
- Let the dough rest for 10 minutes at room temperature to hydrate the flours and improve texture.
- Place parchment paper on a baking sheet or pizza peel. Lightly dust hands and dough with rice flour, then spread or roll the dough into a thin 12-inch (30 cm) circle.
- Transfer the dough on parchment to the hot pizza stone or baking sheet and bake for 10–12 minutes until edges turn golden and surface looks set but not browned.
- Remove crust from oven and add your favorite sauce, cheese, and toppings.
- Return pizza to oven and bake for another 8–10 minutes until cheese melts and crust is crisp and golden brown.
- Let pizza cool for a couple of minutes before slicing to allow crust to firm up.
Notes
Preheat the oven and pizza stone or baking sheet thoroughly for best crispness. Resting the dough for 10 minutes improves texture. Use parchment paper to handle sticky gluten-free dough easily. Avoid soggy toppings by patting vegetables dry. Dough can be prepared ahead and refrigerated for up to 24 hours. For vegan version, substitute honey with maple syrup. To reheat leftovers, use a hot skillet or toaster oven to maintain crispness; avoid microwaving.
Nutrition
- Serving Size: 1 slice (1/4 of 12-i
- Calories: 220
- Sugar: 2
- Sodium: 300
- Fat: 7
- Saturated Fat: 1
- Carbohydrates: 34
- Fiber: 1
- Protein: 3
Keywords: gluten-free pizza crust, crispy pizza crust, homemade pizza, gluten-free baking, easy pizza crust, gluten intolerance, gluten-free recipe



