Love this? Save it for later!
Share the inspiration with your friends
“You know that feeling when you rummage through your pantry late at night hoping for a quick snack that’s both tasty and good for you? Well, that was me one Tuesday evening, hunched over the counter with a half-empty jar of peanut butter and a bag of oats, trying to avoid the usual sugar bomb lurking in the cupboard. Honestly, I wasn’t expecting much when I tossed a few simple ingredients together, but what came out was these easy dairy-free granola bars that quickly became my go-to for healthy snacking.
It wasn’t some fancy kitchen experiment or a planned recipe development session—it was more of a ‘make-do’ moment after realizing my usual granola bars had milk powder in them. (I even forgot to set a timer and nearly charred the edges, but hey, that crispy touch adds character.) Maybe you’ve been there, searching for snacks that fit your dairy-free lifestyle without sacrificing flavor or texture.
These granola bars are straightforward, comforting, and surprisingly filling. The best part? They don’t rely on any weird ingredients or complicated steps. I keep coming back to this recipe, especially on busy mornings or afternoon slumps, because it feels like a little homemade treat that’s honest and wholesome. Let me tell you, once you try making these yourself, you might just find yourself sneaking an extra bar or two when no one’s looking.
Why You’ll Love This Recipe
From my many trials and tweaks, these easy dairy-free granola bars have stood out for plenty of reasons. Here’s why they might just become your snack-time hero too:
- Quick & Easy: Ready in under 30 minutes, perfect for busy days or last-minute cravings.
- Simple Ingredients: No need for specialty stores; you probably have most of these in your pantry already.
- Perfect for On-The-Go: Great for lunchboxes, hiking trips, or a midday energy boost.
- Crowd-Pleaser: Even my dairy-loving friends can’t get enough of these bars.
- Unbelievably Delicious: The chewy texture combined with natural sweetness hits that comfort-food spot without the guilt.
This isn’t just another granola bar recipe floating around the internet. What sets it apart is the balance of ingredients that give it a lovely chewiness without needing any dairy products, plus the subtle hint of maple syrup that ties it all together. I also like to add a pinch of cinnamon sometimes—it’s an old trick that makes everything feel a little warmer inside.
Honestly, this recipe feels like a small victory for anyone juggling dietary needs and busy schedules. It’s the kind of snack you can close your eyes to after the first bite, knowing you made something good for yourself. Plus, it’s ideal if you’ve tried other granola bars that left you wanting more texture or flavor. These bars hit that sweet spot every single time.
What Ingredients You Will Need
This recipe uses straightforward, wholesome ingredients that work together to create a satisfying texture and naturally sweet flavor without any dairy. Most of these are pantry staples, and if you need to swap anything out, I’ve got you covered.
- Rolled oats (2 cups / 180g) – The base for chewiness and fiber; I prefer old-fashioned oats for texture.
- Slivered almonds (1/2 cup / 45g) – Adds crunch and healthy fats; you can substitute with walnuts or pecans.
- Chia seeds (2 tbsp) – Acts as a natural binder and adds omega-3s.
- Natural peanut butter (1/2 cup / 130g) – Creamy binder and flavor star; I recommend a smooth, unsweetened brand like Smucker’s Natural.
- Maple syrup (1/3 cup / 80ml) – Natural sweetener with a subtle caramel note; pure maple syrup is best.
- Vanilla extract (1 tsp) – Enhances flavor depth.
- Sea salt (1/4 tsp) – Balances sweetness and boosts flavor.
- Dried cranberries (1/3 cup / 50g) – A touch of tartness; swap with raisins or chopped dried apricots for seasonal variation.
If you want to keep these gluten-free, just make sure to pick certified gluten-free oats. For a nut-free version, sunflower seed butter works well instead of peanut butter, and pumpkin seeds can replace almonds. I once tried using honey instead of maple syrup in a pinch, and while it worked, the maple syrup definitely gives a smoother sweetness that I prefer.
Equipment Needed
Making these easy dairy-free granola bars doesn’t demand fancy kitchen gadgets, which is part of why I love this recipe. Here’s what you’ll need:
- Mixing bowl: Any medium to large bowl will do; I usually grab my sturdy Pyrex one.
- Spoon or spatula: For mixing the sticky ingredients together. A silicone spatula makes scraping the sides easier.
- 8×8 inch (20×20 cm) baking pan: I use a metal pan lined with parchment paper for easy removal. A glass pan works too, just watch the baking time as it might vary slightly.
- Parchment paper: Essential for lining the pan to prevent sticking and for easy cleanup.
- Measuring cups and spoons: Accuracy matters here, especially for the wet ingredients.
If you don’t have a baking pan exactly that size, a similar square or rectangular dish will work just fine. Just press the mixture evenly to the edges for consistent baking. I once tried a silicone loaf pan, which was fine but required a bit more pressing to get an even thickness. For a budget-friendly tip, parchment paper sheets can also be cut to size to cover your pan perfectly.
Preparation Method
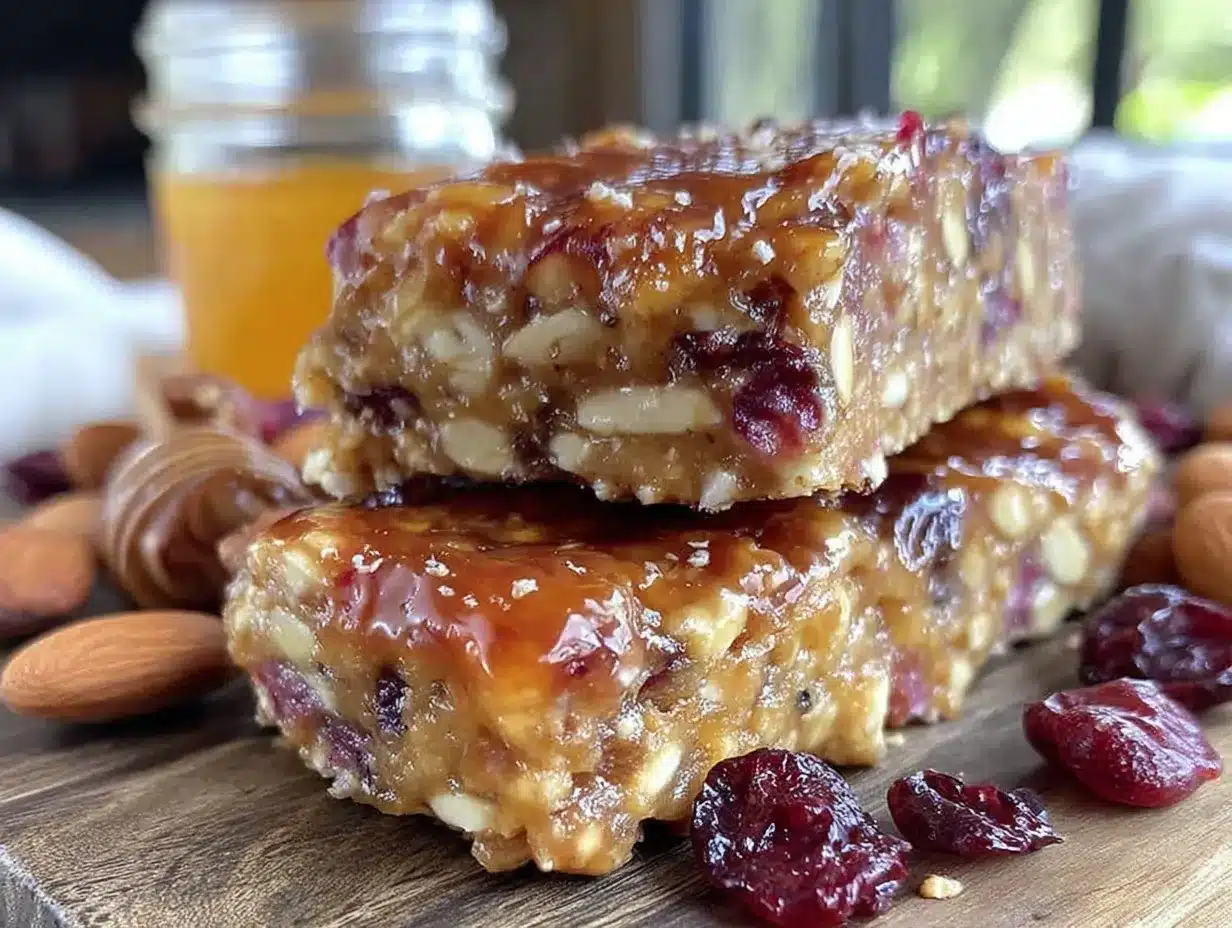
- Preheat your oven to 325°F (160°C). Line your 8×8 inch baking pan with parchment paper, leaving some overhang for easy bar removal later. This step took me a minute to remember the first time, and it really helps with cleanup.
- Mix dry ingredients: In your mixing bowl, combine 2 cups (180g) rolled oats, 1/2 cup (45g) slivered almonds, 2 tablespoons chia seeds, 1/4 teaspoon sea salt, and 1/3 cup (50g) dried cranberries. Stir them together evenly so the nuts and seeds are well distributed.
- Warm wet ingredients: In a small microwave-safe bowl or on the stovetop, gently warm 1/2 cup (130g) natural peanut butter and 1/3 cup (80ml) maple syrup until just melted and smooth—about 30 seconds in the microwave. Stir in 1 teaspoon vanilla extract.
- Combine wet and dry: Pour the peanut butter mixture over the dry ingredients. Use your spatula or spoon to mix everything thoroughly. It should form a sticky, cohesive mass; if it feels too dry, add a splash more maple syrup, but be careful not to make it too wet.
- Press into pan: Transfer the mixture to your lined baking pan. Press it firmly and evenly into the corners and edges—this helps the bars hold together once baked. I like to use the bottom of a glass to smooth the surface.
- Bake: Place the pan in the oven and bake for 20-25 minutes. Keep an eye on the edges—they should turn a light golden brown but not burn. If your oven runs hot, check at 18 minutes to avoid over-baking.
- Cool completely: Once baked, remove the pan and let it cool on a wire rack for at least 30 minutes. This step is crucial because the bars firm up as they cool. I once tried cutting them warm and ended up with crumbly bits everywhere—lesson learned!
- Slice and store: Use the parchment overhang to lift the granola slab out of the pan. Place on a cutting board and slice into bars or squares with a sharp knife. Store in an airtight container at room temperature for up to a week or freeze for longer storage.
Cooking Tips & Techniques
Here are some tips I picked up while mastering this easy dairy-free granola bars recipe that might save you some hassle:
- Don’t skip warming the peanut butter and syrup. This step makes mixing easier and ensures the bars bind properly.
- Press the mixture firmly. I can’t stress this enough—if the oats aren’t packed tightly, the bars will crumble apart.
- Watch your bake time carefully. Every oven is different, and since these bars have natural sweeteners, they can burn quickly around the edges.
- Use parchment paper with overhang. It makes removing the bars a breeze and keeps their shape intact.
- For a chewier bar, slightly underbake. Let them cool completely before cutting to help them hold together.
- Timing multitasking: While the bars are cooling, clean your tools and prep your storage containers so you’re ready to slice and store immediately.
I once tried adding chocolate chips before baking—big mistake as they melted into a gooey mess. If you want chocolate, add chips after the bars cool or drizzle melted chocolate on top once cooled.
Variations & Adaptations
One of the best things about this easy dairy-free granola bars recipe is how versatile it is. Here are a few ways you can tweak it:
- Nut-Free Version: Substitute peanut butter with sunflower seed butter and replace almonds with pumpkin seeds for a safe alternative.
- Seasonal Flavor Swap: In warmer months, swap dried cranberries for chopped dried mango or apricots. For fall vibes, add 1/2 teaspoon cinnamon and swap maple syrup with honey.
- Extra Protein Boost: Stir in 2 tablespoons of hemp seeds or your favorite protein powder into the dry mix without changing the wet ingredients.
- No-Bake Option: If you prefer not to bake, press the mixture into the pan and chill in the fridge for at least an hour until firm. The texture will be softer but still satisfying.
- My personal favorite: Adding a pinch of sea salt flakes on top right after baking—it adds a nice contrast to the sweetness.
Serving & Storage Suggestions
These bars are perfect served at room temperature, but I also enjoy them chilled on hot days for a refreshing snack. They pair wonderfully with a cup of herbal tea or a glass of almond milk.
For breakfast on the go, wrap individual bars in parchment or reusable snack bags. They make for a hassle-free, healthy option that’s easy to grab before rushing out the door.
Store the granola bars in an airtight container at room temperature for up to a week. If you want to keep them longer, freeze the bars individually wrapped—they thaw quickly in just 15-20 minutes at room temperature and taste just as fresh.
One thing I’ve noticed over time is that the flavors deepen slightly after a day or two, making the bars taste even better than right out of the oven. So, if you can resist the urge to eat them all immediately, they’ll reward your patience.
Nutritional Information & Benefits
Each granola bar (based on 12 bars per batch) roughly contains:
- Calories: 180-200 kcal
- Protein: 5g
- Healthy fats: 9g
- Fiber: 3g
- Sugar: 7g (from natural sweeteners)
Key ingredients like oats and almonds provide sustained energy and fiber, great for digestive health. Chia seeds add omega-3 fatty acids, supporting heart health, while natural peanut butter offers protein and healthy fats that keep hunger at bay. This recipe is naturally dairy-free, gluten-free (with certified oats), and can be adjusted to be nut-free, making it a flexible option for many dietary needs.
From a wellness perspective, these bars are a solid alternative to store-bought granola bars loaded with added sugars and preservatives. They feel like a snack that actually fuels you instead of draining your energy, which is a win in my book.
Conclusion
Making your own easy dairy-free granola bars is honestly a game changer for anyone looking for a healthy, homemade snack that doesn’t skimp on taste or texture. This recipe is simple enough for beginners but has enough room for you to make it your own with different add-ins or tweaks. I love how it’s become a staple in my kitchen, especially for those days when I need a little pick-me-up without the sugar crash.
Give it a try, experiment with your favorite nuts or dried fruits, and see how these bars fit into your routine. And hey, if you try out your own spin on it, I’d love to hear about it—leave a comment below or share your experience. You might just inspire someone else to make their first batch!
Remember, healthy snacking doesn’t have to be complicated. Sometimes, the best recipes are the ones that come from a little kitchen improvisation and a willingness to keep it simple.
FAQs
Can I use quick oats instead of rolled oats?
Quick oats can be used, but the texture will be softer and less chewy. Rolled oats are preferred for that classic granola bar bite.
How long do these granola bars stay fresh?
Stored in an airtight container at room temperature, they stay fresh for up to one week. For longer storage, freezing is recommended.
Are these granola bars gluten-free?
They can be, as long as you use certified gluten-free oats and check that other ingredients are gluten-free.
Can I add chocolate chips to the bars?
Yes, but add chocolate chips only after baking and cooling to prevent melting and changing the texture.
What’s a good substitute for peanut butter?
Sunflower seed butter or almond butter are great alternatives, especially for nut-free or different flavor options.
Pin This Recipe!
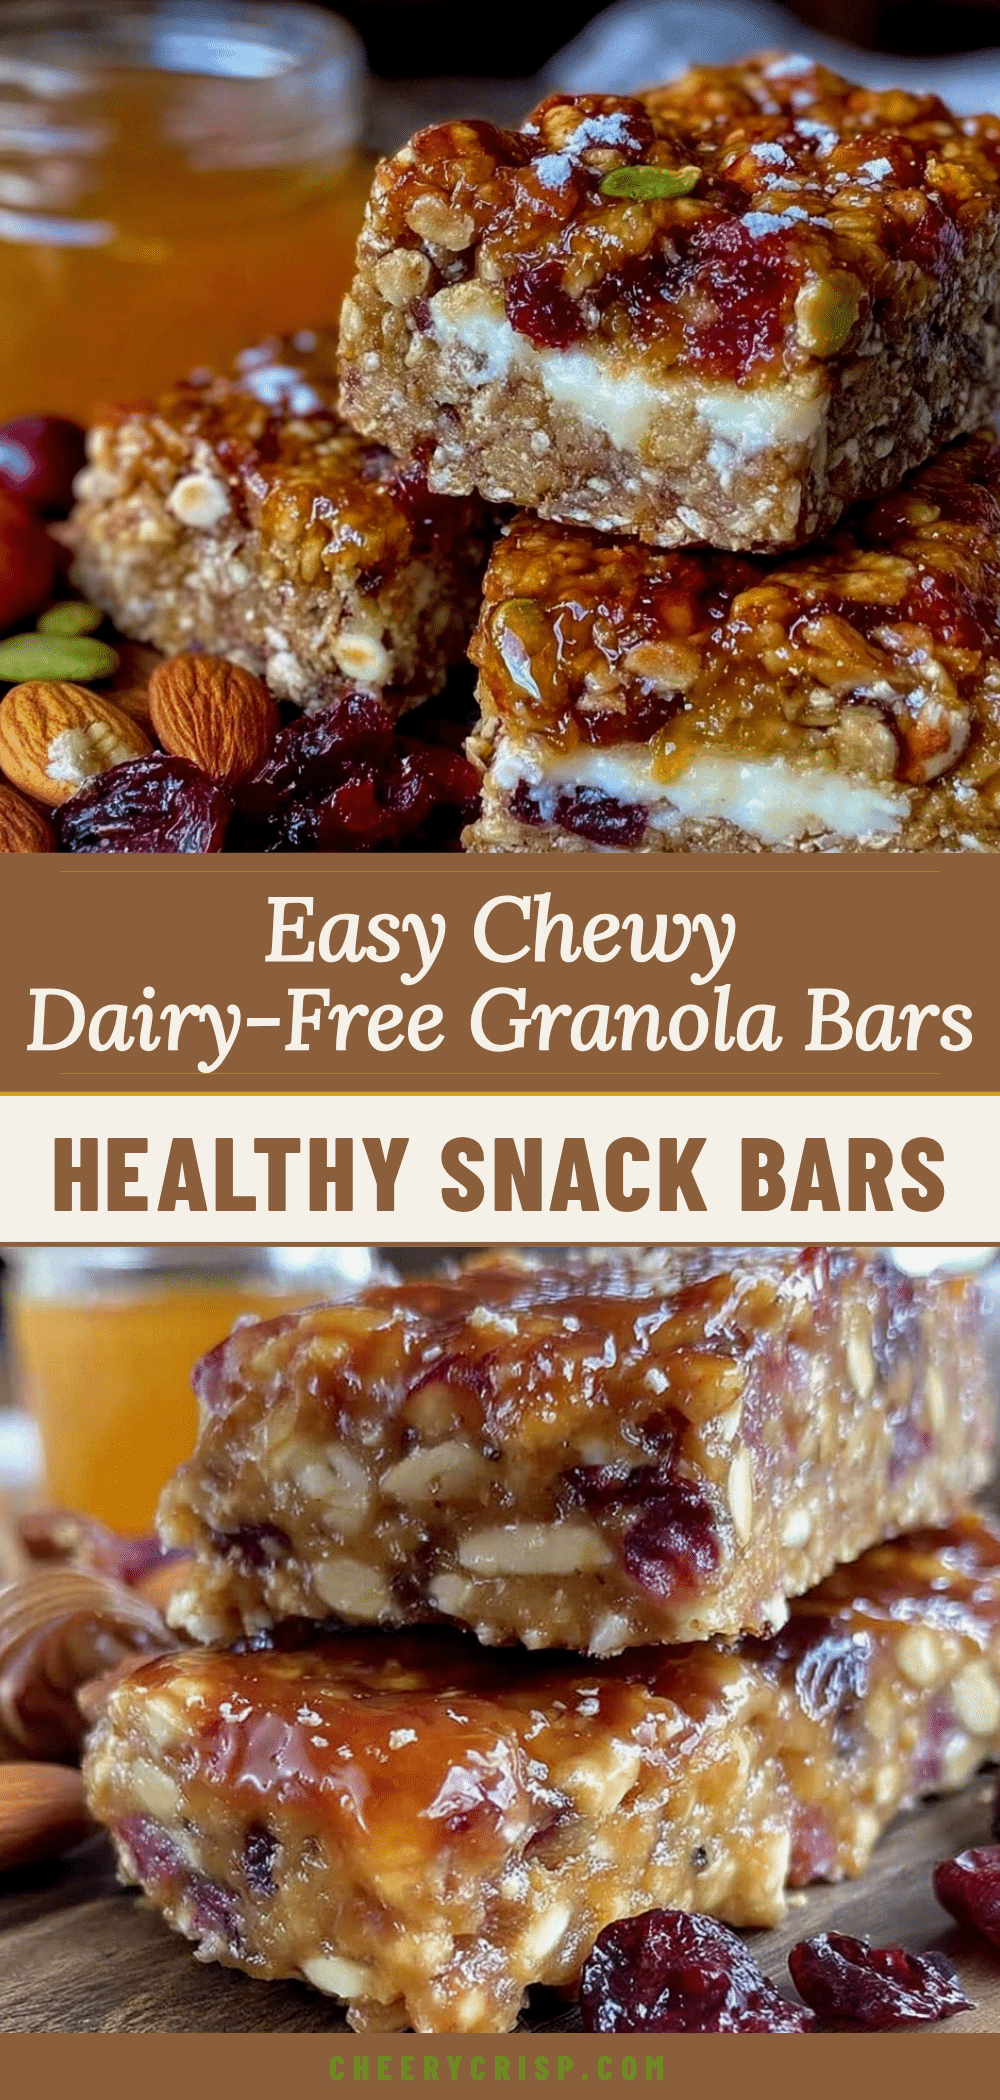
Easy Dairy-Free Granola Bars Recipe for Healthy Homemade Snacking
These easy dairy-free granola bars are a quick, wholesome snack made with simple pantry ingredients, perfect for on-the-go energy and satisfying texture without any dairy.
- Prep Time: 10 minutes
- Cook Time: 25 minutes
- Total Time: 35 minutes
- Yield: 12 bars 1x
- Category: Snack
- Cuisine: American
Ingredients
- 2 cups (180g) rolled oats
- 1/2 cup (45g) slivered almonds
- 2 tablespoons chia seeds
- 1/2 cup (130g) natural peanut butter
- 1/3 cup (80ml) maple syrup
- 1 teaspoon vanilla extract
- 1/4 teaspoon sea salt
- 1/3 cup (50g) dried cranberries
Instructions
- Preheat your oven to 325°F (160°C). Line an 8×8 inch (20×20 cm) baking pan with parchment paper, leaving some overhang for easy bar removal.
- In a mixing bowl, combine rolled oats, slivered almonds, chia seeds, sea salt, and dried cranberries. Stir to distribute evenly.
- Warm natural peanut butter and maple syrup gently until just melted and smooth, about 30 seconds in the microwave. Stir in vanilla extract.
- Pour the peanut butter mixture over the dry ingredients and mix thoroughly until sticky and cohesive. Add a splash more maple syrup if too dry.
- Transfer the mixture to the lined baking pan and press firmly and evenly into the corners and edges.
- Bake for 20-25 minutes, watching the edges for a light golden brown color to avoid burning.
- Remove from oven and cool completely on a wire rack for at least 30 minutes to firm up.
- Lift the granola slab out using the parchment overhang, slice into bars or squares, and store in an airtight container.
Notes
Warm the peanut butter and maple syrup to make mixing easier and ensure proper binding. Press the mixture firmly into the pan to prevent crumbling. Watch baking time closely to avoid burning edges. Cool completely before slicing for best texture. Chocolate chips should be added only after baking and cooling.
Nutrition
- Serving Size: 1 bar
- Calories: 190
- Sugar: 7
- Sodium: 100
- Fat: 9
- Saturated Fat: 1
- Carbohydrates: 23
- Fiber: 3
- Protein: 5
Keywords: dairy-free granola bars, healthy snack, homemade granola bars, dairy-free snack, easy granola bars, peanut butter bars, gluten-free granola bars



