Love this? Save it for later!
Share the inspiration with your friends
“I didn’t plan on becoming a bread baker at midnight,” I confessed to my wide-eyed toddler, who was more interested in the crumbs than my explanation. It was a Wednesday night, and the local grocery store had just run out of all the gluten-free sandwich bread options—yes, all of them. My kid’s lunchbox was screaming for something soft, squishy, and sandwich-worthy by morning. So there I was, elbow-deep in a sticky, unusual dough at 11:30 PM, mixing almond flour, tapioca starch, and a secret ingredient that I stumbled upon by pure chance.
The kitchen was quiet except for the soft hum of the mixer and the occasional pop when the yeast started working its magic. Honestly, I was nervous—gluten-free bread can be tricky, prone to being dense or crumbly, and I was racing against the clock. But when that loaf finally came out golden and smelling like a warm hug, I knew I had something special. This recipe isn’t just bread; it’s the story of last-minute hustle, the smell of fresh baking in the middle of the night, and a lunchbox hero that saved a busy morning.
Maybe you’ve been there—trying to find soft, reliable gluten-free bread that actually tastes good and holds up in a sandwich. This recipe is the answer I wish someone had handed me sooner. It’s simple, forgiving, and best of all, it makes lunches something to look forward to instead of a scramble. So, let me tell you about this soft gluten-free sandwich bread that’s perfect for lunchboxes, and why it’s become a staple in our kitchen.
Why You’ll Love This Soft Gluten-Free Sandwich Bread Recipe
After many trials (and a few burnt edges), this soft gluten-free sandwich bread recipe has become my go-to for school lunches and quick sandwiches. I mean, it’s not just about gluten-free—it’s about making bread that’s genuinely soft, tender, and sandwich-ready without the usual dry, crumbly mess.
- Quick & Easy: Comes together in under 1 hour prep time, so perfect for busy weeknights or last-minute lunch prep.
- Simple Ingredients: No hard-to-find flours or fancy additives—you probably have most of the ingredients in your pantry already.
- Perfect for Lunchboxes: The bread stays soft and fresh for days, making it ideal for sandwiches that won’t dry out or fall apart.
- Crowd-Pleaser: Kids and adults alike love the texture and mild flavor—it’s the kind of bread you can toast or eat fresh without any fuss.
- Unbelievably Delicious: The crumb is tender but sturdy, with just the right hint of sweetness that comes from a touch of honey and the creamy texture of almond flour.
What sets this recipe apart is the balance between softness and structure. Using a blend of gluten-free flours and a touch of psyllium husk powder gives the bread a stretch and chew that’s often missing in gluten-free loaves. Plus, the slow rise overnight (or at least a few hours) develops flavor and texture that feels like a treat, not a compromise.
This recipe isn’t just another gluten-free option—it’s the bread that makes you forget you’re eating gluten-free while packing lunches that get devoured without a single complaint. It’s my quiet kitchen victory and maybe yours too.
What Ingredients You Will Need for Soft Gluten-Free Sandwich Bread
This recipe uses simple, wholesome ingredients to deliver a soft, airy loaf that’s great for sandwiches and lunchboxes. Most are pantry staples, and I’ve included easy substitutions where you might need them.
- For the Bread Base:
- 1 ¾ cups (210g) gluten-free all-purpose flour blend (I recommend Bob’s Red Mill 1-to-1 Baking Flour for best texture)
- ¾ cup (80g) almond flour (adds moistness and tenderness)
- ¼ cup (30g) tapioca starch (helps with chew and elasticity)
- 2 tablespoons psyllium husk powder (binds and gives structure; if unavailable, ground flaxseed meal can be a substitute but texture will differ)
- For the Yeast Mixture:
- 1 packet (2 ¼ teaspoons/7g) active dry yeast
- 1 tablespoon honey or maple syrup (feeds the yeast and adds subtle sweetness)
- 1 cup (240ml) warm water (about 110°F/43°C)
- Additional Ingredients:
- 2 large eggs, room temperature (adds richness and helps with rise)
- 1 teaspoon apple cider vinegar (improves crumb and rise)
- 1 teaspoon salt
- 3 tablespoons olive oil or melted coconut oil (for moisture and softness)
Substitution notes: For a dairy-free version, use coconut oil. If you’re avoiding eggs, try a flax egg substitute (1 tablespoon ground flaxseed + 3 tablespoons water, let sit 5 mins), but the bread may be a bit denser. In summer, fresh almond flour works best; in winter, make sure it’s not clumpy or stale. Always check that your gluten-free flour blend contains xanthan gum or guar gum for structure; if not, add ½ teaspoon xanthan gum.
Equipment Needed
- Mixing bowls: a large one for dry ingredients and a smaller one for wet ingredients
- Electric mixer with a dough hook or a stand mixer (makes mixing easier, but a sturdy spoon and elbow grease work fine too)
- 9×5-inch (23×13 cm) loaf pan, ideally non-stick or lined with parchment paper for easy removal
- Measuring cups and spoons (accuracy is key with gluten-free flours)
- Kitchen scale (optional but highly recommended for consistent results)
- Thermometer to check water temperature (important for activating yeast without killing it)
- Clean kitchen towel or plastic wrap for proofing the dough
If you don’t own a stand mixer, I’ve made this bread by hand plenty of times—just expect a slightly stickier dough and some extra kneading time. For loaf pans, glass or metal both work well; just grease well to avoid sticking. I keep a silicone brush handy to oil the pan evenly. Also, a timer is great for keeping track of rising times so nothing gets forgotten (trust me, I’ve had dough over-proof before!).
Preparation Method for Soft Gluten-Free Sandwich Bread
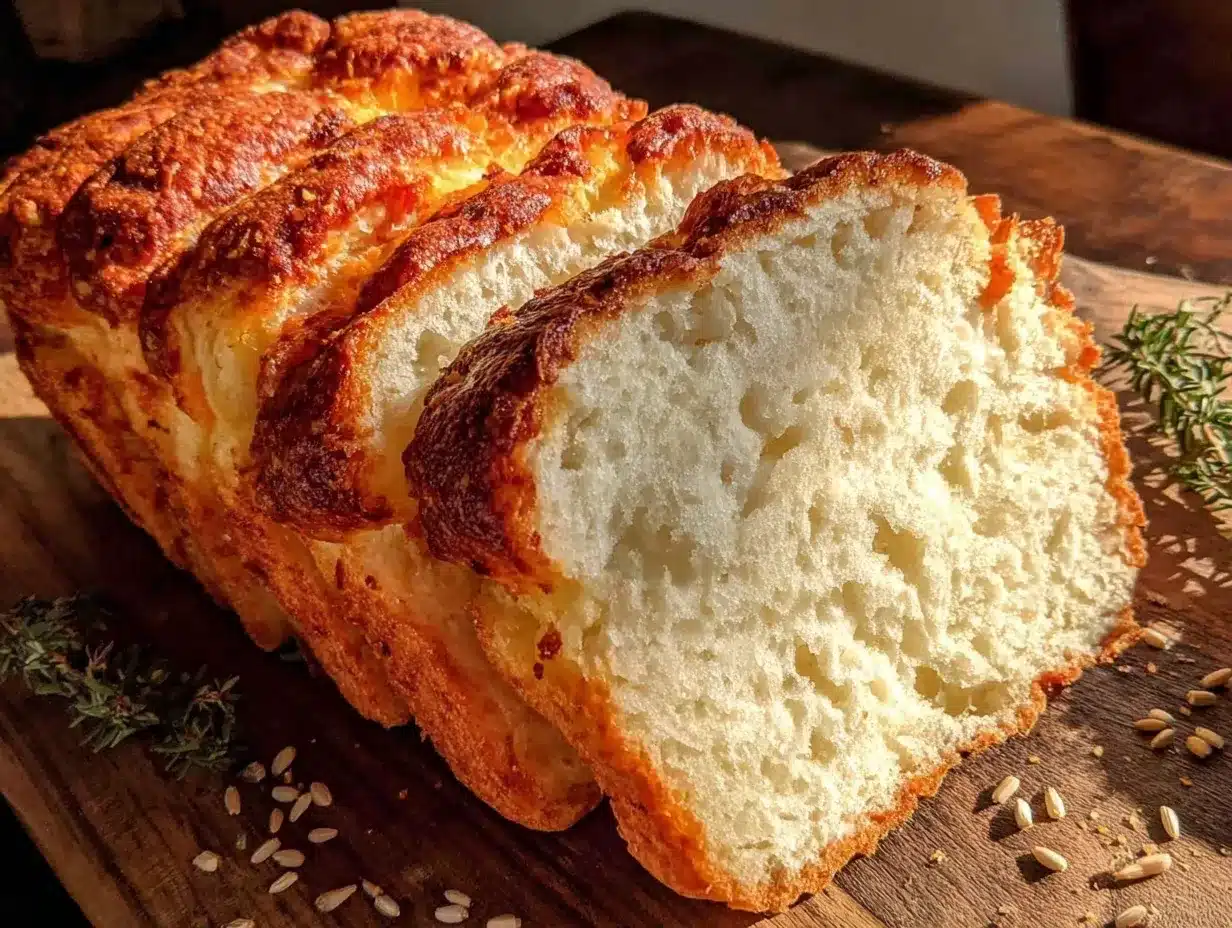
- Activate the yeast: In a small bowl, combine the warm water (110°F/43°C), honey, and yeast. Stir gently and let it sit for 5-10 minutes until foamy. If it doesn’t foam, your yeast might be dead—start over with fresh yeast.
- Mix dry ingredients: In a large bowl, whisk together the gluten-free flour blend, almond flour, tapioca starch, psyllium husk powder, salt, and xanthan gum (if your blend doesn’t have it). Mixing these well now prevents clumps later.
- Combine wet ingredients: In a separate bowl, beat the eggs lightly, then add the apple cider vinegar and olive oil. Stir to combine.
- Make the dough: Pour the yeast mixture and wet ingredients into the dry ingredients. Using a stand mixer fitted with a dough hook, mix on medium speed for about 3-5 minutes. The dough will be sticky but should come together into a ball that’s slightly tacky to the touch. If mixing by hand, a sturdy spoon and some patience will work—expect to scrape the bowl a few times.
- First rise: Transfer the dough to a greased 9×5-inch loaf pan and smooth the top with a damp spatula. Cover loosely with a clean kitchen towel or plastic wrap. Let it rise in a warm, draft-free spot for 45-60 minutes, or until the dough has puffed up about 1 inch above the rim. You’ll see it’s ready when it’s springy to the touch but not collapsed.
- Bake: Preheat your oven to 350°F (175°C). Place the risen dough in the oven and bake for 40-45 minutes. The top should be golden brown, and an inserted toothpick should come out clean. If the top browns too quickly, loosely tent with foil halfway through baking.
- Cool: Remove the bread from the oven and let it cool in the pan for 10 minutes. Then carefully lift it out (using parchment paper edges if lined) and cool completely on a wire rack. This step is crucial—cutting too soon can make the bread gummy.
- Slice and enjoy: Once fully cooled, slice with a serrated knife. The bread stays soft and sandwich-ready for up to 3 days at room temperature or longer in the fridge.
Pro tip: If your dough feels too wet or is spreading too much during rising, add an extra tablespoon of tapioca starch next time. Also, don’t skip the psyllium husk—it’s the secret weapon for that soft, bread-like texture.
Cooking Tips & Techniques for the Best Soft Gluten-Free Sandwich Bread
Gluten-free bread baking is a bit like a science experiment, but with practice, it becomes second nature. Here are some tips I’ve picked up over the years to get consistent results:
- Water Temperature Matters: Yeast is alive and picky. Too hot, and it dies; too cold, and it won’t activate. Always aim for about 110°F (43°C) for proofing.
- Don’t Skip Psyllium Husk: This ingredient mimics gluten’s elasticity. Without it, the bread will crumble. I learned this the hard way on my third attempt!
- Patience with Rising: Give your dough enough time to rise but don’t let it overproof or it will collapse. The dough should spring back lightly when poked.
- Use a Serrated Knife: For slicing the bread, a serrated bread knife works best to avoid squashing the soft crumb.
- Store Properly: Bread dries out quickly without gluten, so keep it wrapped in a clean kitchen towel or airtight container.
One lesson learned: the first time I made this bread, I forgot to add the psyllium husk and ended up with a pancake-like loaf. Oops! But that batch was a great reminder to read the ingredient list twice. Also, multitasking by prepping the dough while making dinner helps streamline the process.
Variations & Adaptations for Your Soft Gluten-Free Sandwich Bread
You can tweak this recipe to suit your needs or the season. Here are a few ideas:
- Seeded Variation: Add 2 tablespoons each of chia seeds, sunflower seeds, and flaxseeds to the dough for extra crunch and nutrition.
- Herb-Infused: Mix in 1 teaspoon dried rosemary or thyme for a savory twist that pairs beautifully with sandwiches.
- Low-Carb Adaptation: Swap the gluten-free all-purpose flour for 1 cup (100g) almond flour and reduce tapioca starch to 2 tablespoons, yielding a denser but still soft loaf.
- Dairy-Free Swap: Use coconut oil instead of olive oil and flax eggs instead of regular eggs for a vegan-friendly version; expect a slightly different crumb.
- Sweet Version: Add 2 tablespoons of sugar or maple syrup to the yeast mixture and swirl in cinnamon and raisins for a breakfast bread.
I personally love the seeded version for weekend sandwiches; it adds a pleasant nutty texture that my kids enjoy. Just remember, adding extra mix-ins may slightly change the rise time, so keep an eye on your dough.
Serving & Storage Suggestions for Your Gluten-Free Sandwich Bread
This soft gluten-free sandwich bread is best served fresh or within a couple of days for ultimate softness. Here’s how I handle serving and storing it:
- Serving Temperature: Room temperature is perfect for sandwiches, but a quick toast brings out a lovely nutty aroma and crisp crust.
- Pairings: It’s fabulous with classic fillings like turkey and cheese, peanut butter and jelly, or even a fresh avocado smash. Pair with a crisp apple or carrot sticks for a balanced lunchbox.
- Storage: Wrap the loaf tightly in plastic wrap or store in a sealed bread box to keep it moist. Refrigeration is okay but can dry bread out faster—if refrigerated, toast slices before serving.
- Freezing: Slice the bread and freeze in airtight bags. Thaw slices at room temperature or toast straight from frozen for a quick snack.
- Flavor Development: The bread’s flavor deepens a bit after a day, so if you can wait, letting it rest wrapped overnight improves the taste and crumb.
Nutritional Information & Benefits
This gluten-free sandwich bread offers a balance of nutrients without excess additives. Here’s an approximate breakdown per slice (based on 12 slices per loaf):
| Nutrient | Amount |
|---|---|
| Calories | 110 kcal |
| Protein | 4 g |
| Fat | 6 g (mostly healthy fats from almond flour and olive oil) |
| Carbohydrates | 10 g (mostly complex carbs) |
| Fiber | 3 g (from psyllium husk and almond flour) |
The use of almond flour provides vitamin E and magnesium, while psyllium husk adds soluble fiber that’s great for digestion. This bread is naturally gluten-free, dairy-free if using coconut oil, and low in sugar. Just watch for egg allergies if serving to little ones.
Conclusion
If you’ve been searching for a soft gluten-free sandwich bread that doesn’t crumble, dry out, or taste like cardboard, this recipe might just be your new best friend. It’s simple to make, forgiving enough for beginners, and perfect for packing in lunchboxes that get eaten with a smile. I love this bread because it turned a frustrating night of last-minute scrambling into a reliable kitchen win that I return to again and again.
Feel free to customize it with your favorite mix-ins or adapt it for dietary needs—the basic formula is friendly and flexible. I hope it brings a little extra ease and joy to your sandwich-making routine. When you try it out, I’d love to hear how it worked for you and what creative twists you added!
Happy baking and even happier lunch packing!
FAQs About Soft Gluten-Free Sandwich Bread
Can I make this bread without eggs?
Yes, you can substitute eggs with a flaxseed egg (1 tablespoon ground flaxseed mixed with 3 tablespoons water, let sit for 5 minutes). The bread may be a bit denser but still tasty.
How do I keep the bread soft for longer?
Store the bread wrapped tightly in plastic wrap or a bread box at room temperature. Avoid refrigeration if possible, as it dries out gluten-free bread faster.
Can I freeze this gluten-free bread?
Absolutely! Slice the bread and freeze in airtight bags. Thaw at room temperature or toast slices directly from frozen for a quick snack.
What’s the best way to slice this bread?
Use a serrated bread knife to slice gently and avoid squashing the soft crumb.
Can I use other gluten-free flour blends?
Yes, but make sure your blend contains xanthan gum or guar gum for structure. If not, add ½ teaspoon xanthan gum to the dry ingredients.
By the way, if you ever want a gluten-free bread with a twist, I remember making a crispy garlic chicken sandwich with this bread—the texture held up beautifully! Also, for a lighter sandwich option, pairing this bread with my fresh avocado salad is a quick, delicious combo perfect for busy days.
Pin This Recipe!
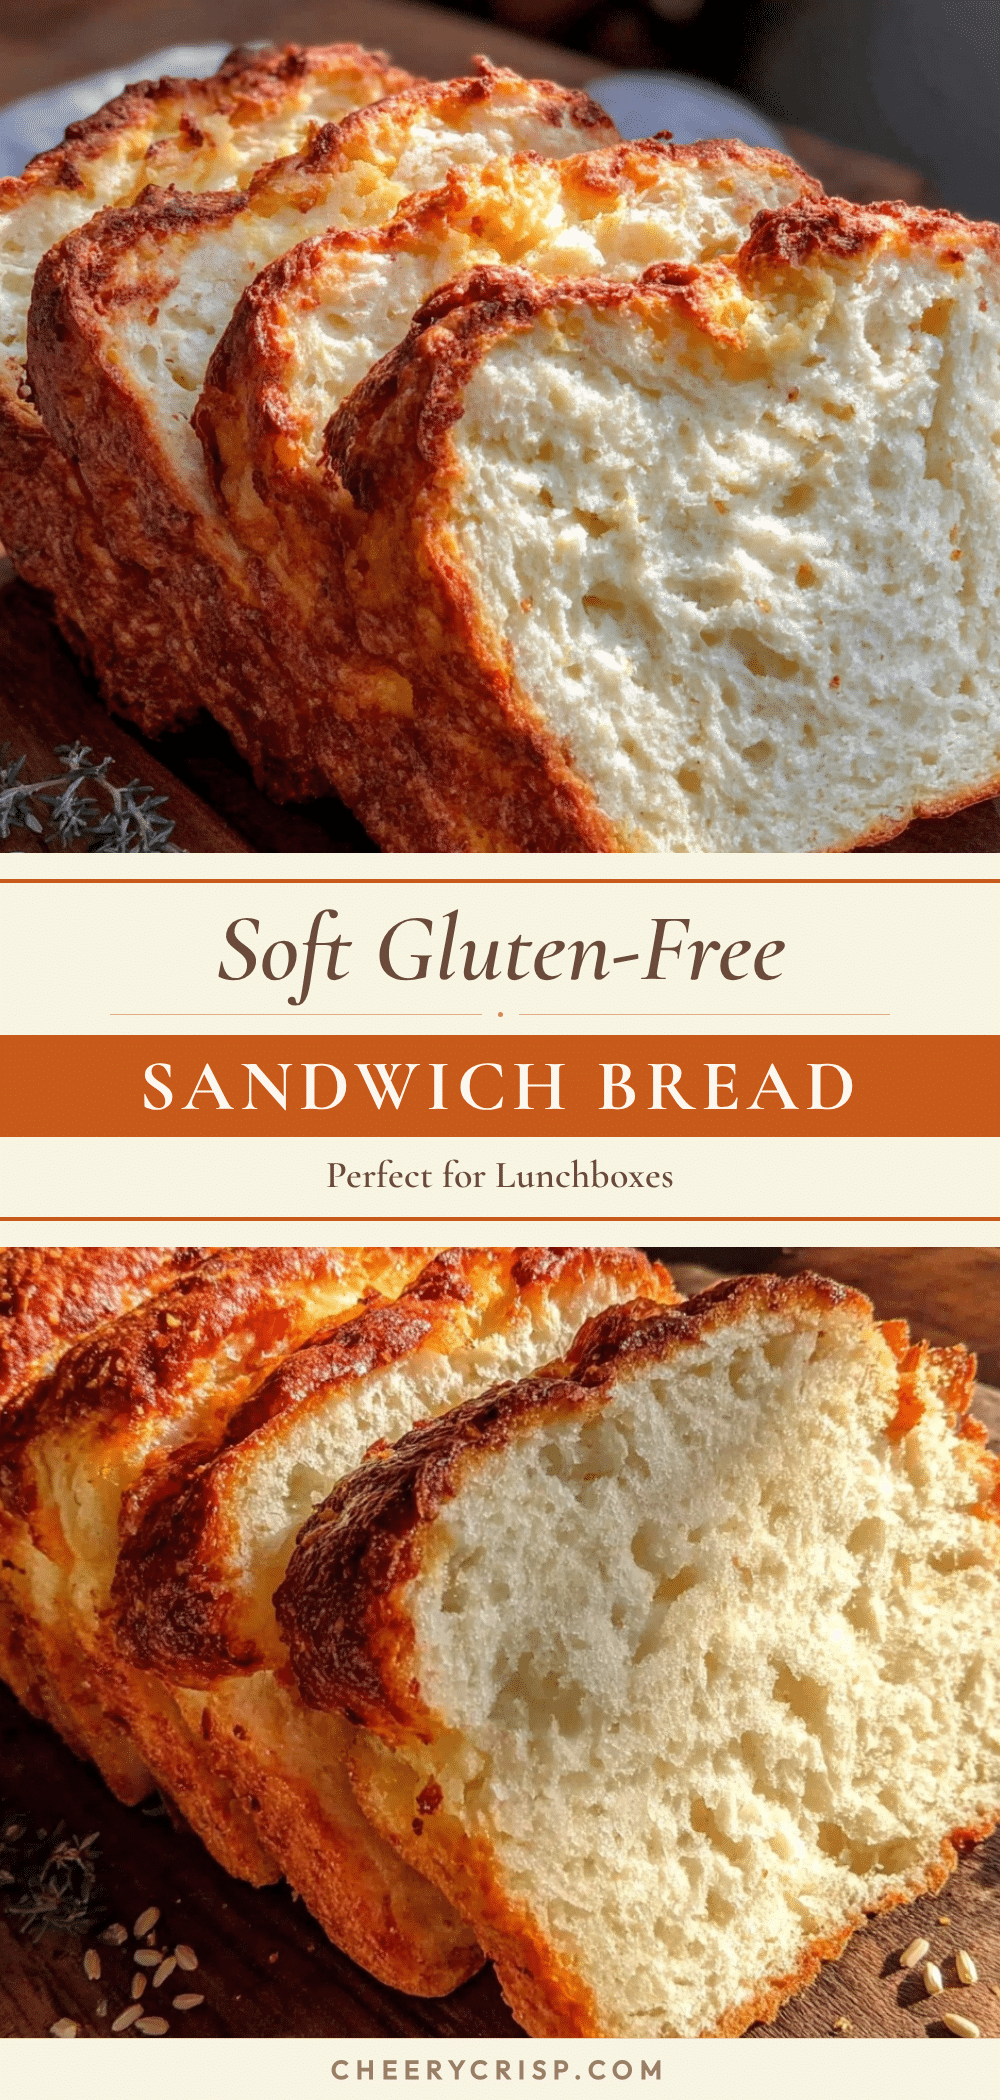
Soft Gluten-Free Sandwich Bread Recipe Easy Perfect for Lunchboxes
A soft, tender, and sandwich-ready gluten-free bread recipe perfect for lunchboxes, made with simple ingredients and a blend of gluten-free flours for the ideal texture.
- Prep Time: 15 minutes
- Cook Time: 45 minutes
- Total Time: 1 hour
- Yield: 12 slices 1x
- Category: Main Course
- Cuisine: Gluten-Free
Ingredients
- 1 ¾ cups (210g) gluten-free all-purpose flour blend (e.g., Bob’s Red Mill 1-to-1 Baking Flour)
- ¾ cup (80g) almond flour
- ¼ cup (30g) tapioca starch
- 2 tablespoons psyllium husk powder (or ground flaxseed meal as substitute)
- 1 packet (2 ¼ teaspoons / 7g) active dry yeast
- 1 tablespoon honey or maple syrup
- 1 cup (240ml) warm water (about 110°F / 43°C)
- 2 large eggs, room temperature
- 1 teaspoon apple cider vinegar
- 1 teaspoon salt
- 3 tablespoons olive oil or melted coconut oil
Instructions
- Activate the yeast: In a small bowl, combine warm water (110°F/43°C), honey, and yeast. Stir gently and let sit for 5-10 minutes until foamy.
- Mix dry ingredients: In a large bowl, whisk together gluten-free flour blend, almond flour, tapioca starch, psyllium husk powder, salt, and xanthan gum if needed.
- Combine wet ingredients: In a separate bowl, beat eggs lightly, then add apple cider vinegar and olive oil. Stir to combine.
- Make the dough: Pour yeast mixture and wet ingredients into dry ingredients. Mix with a stand mixer dough hook on medium speed for 3-5 minutes until sticky but forming a ball. If mixing by hand, use a sturdy spoon and scrape bowl as needed.
- First rise: Transfer dough to a greased 9×5-inch loaf pan, smooth top with damp spatula. Cover loosely and let rise in warm, draft-free spot for 45-60 minutes until dough puffs about 1 inch above rim.
- Bake: Preheat oven to 350°F (175°C). Bake dough for 40-45 minutes until golden brown and toothpick inserted comes out clean. Tent with foil if browning too fast.
- Cool: Let bread cool in pan for 10 minutes, then remove and cool completely on wire rack before slicing.
- Slice and enjoy: Slice with serrated knife once fully cooled. Bread stays soft for up to 3 days at room temperature or longer refrigerated.
Notes
Use psyllium husk powder for best texture; flaxseed meal can substitute but changes texture. Water temperature for yeast activation should be about 110°F. Let bread cool completely before slicing to avoid gummy texture. Store wrapped tightly to maintain softness. For dairy-free, use coconut oil. For egg-free, use flax egg substitute but expect denser bread.
Nutrition
- Serving Size: 1 slice
- Calories: 110
- Fat: 6
- Carbohydrates: 10
- Fiber: 3
- Protein: 4
Keywords: gluten-free bread, sandwich bread, soft bread, lunchbox bread, almond flour bread, psyllium husk bread, easy gluten-free bread



