Love this? Save it for later!
Share the inspiration with your friends
Introduction
“You know that moment when you’re all set for a backyard burger night, and then it hits you—no buns that fit your gluten-free, dairy-free needs? Yeah, that was me last summer. I was hosting a casual grill-out for friends, and one of my closest pals, Jamie, has a pretty strict diet. Honestly, I thought it was going to be a disaster. The store-bought buns were either too crumbly or packed with ingredients we wanted to avoid.
So there I was, in my tiny kitchen, with flour dust on the counter and a half-opened bag of almond flour that I barely knew how to use. It felt like a last-minute science experiment. I was juggling between different gluten-free flours, trying to get that perfect soft and tender crumb—something that tasted wholesome but didn’t fall apart the second you touched it. Plus, no dairy because, well, Jamie’s lactose intolerance wasn’t about to take a holiday.
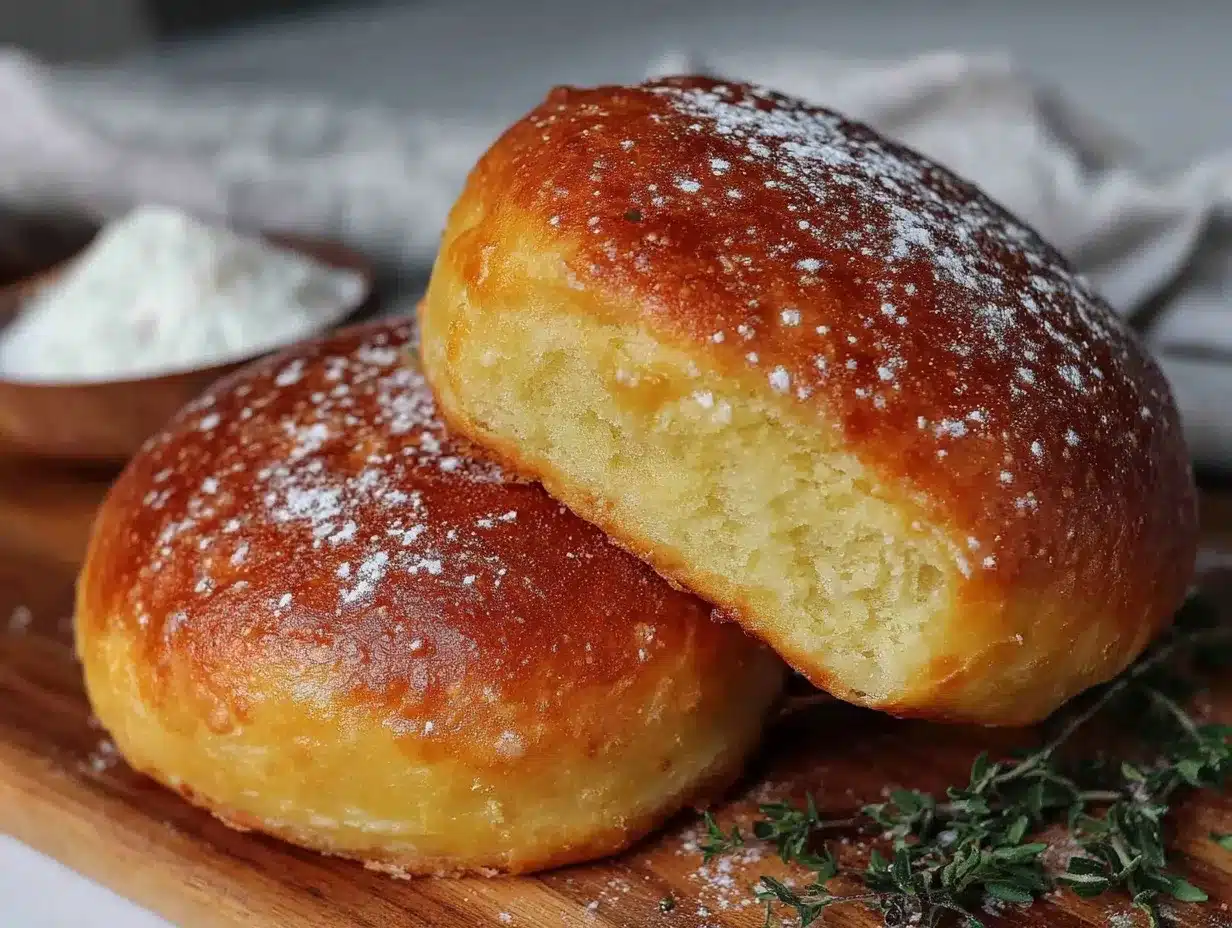
After a few messy tries (I mean, I dropped dough on the floor more than once), I finally baked a batch of burger buns that were fluffy, soft, and held together like a charm. The crust was just right—not too tough, not too dry—and the crumb inside had this delicate tenderness that made biting into a burger an absolute joy. Jamie was impressed, the other guests were curious, and I learned that gluten-free, dairy-free baking can be a rewarding challenge, not a compromise.
Maybe you’ve been there too—craving a burger with all the fixings but missing that perfect bun. This recipe stuck with me because it’s wholesome, simple, and honestly, the kind of bun you’ll want to make over and over. Let me tell you, it’s not just a bun; it’s the foundation for a meal that feels like a little victory.
Why You’ll Love This Recipe
This wholesome gluten-free dairy-free burger buns recipe is one I trust in my kitchen, and I’m confident you will too. After countless trials, I’ve nailed down what makes these buns stand out from the crowd:
- Quick & Easy: Ready in under 90 minutes, these buns are perfect when you want a homemade touch without the all-day commitment.
- Simple Ingredients: No exotic flours or hard-to-find items—just pantry staples with a few gluten-free essentials.
- Perfect for Any Occasion: Whether it’s a casual cookout, a picnic, or a cozy dinner, these buns fit right in.
- Crowd-Pleaser: Kids and adults alike rave about the soft, tender crumb that’s just the right balance of hearty and fluffy.
- Unbelievably Delicious: The gentle nutty flavor from the almond and oat blends comes through without overpowering your burger’s fillings.
What makes this recipe truly different is the way it balances texture and flavor without dairy or gluten. I blend oat flour with almond flour for softness and structure, and a touch of apple cider vinegar activates the baking soda for lift and fluffiness. Plus, a hint of maple syrup adds a subtle sweetness that turns these buns into comfort food you don’t feel guilty about. Honestly, it’s the kind of recipe that sneaks up on you—simple but memorable.
What Ingredients You Will Need
This recipe uses simple, wholesome ingredients to deliver a soft, tender crumb while keeping it gluten-free and dairy-free. Most of these you’ll find right in your pantry or local grocery store, and substitutions are easy if needed.
- Almond flour: Blanched, finely ground (adds moisture and a slight nutty flavor)
- Oat flour: Certified gluten-free (for structure and softness; you can make your own by grinding oats)
- Tapioca starch: Helps with the chewiness and elasticity of the buns
- Baking soda: Leavening agent to give the buns lift
- Apple cider vinegar: Reacts with baking soda to create fluffiness (adds a subtle tang)
- Sea salt: Enhances flavor
- Maple syrup: Natural sweetener giving a gentle sweetness and brown crust (use raw or pure grade B for best taste)
- Warm water: Activates yeast and hydrates flours
- Active dry yeast: For rise and airy texture (I recommend Fleischmann’s for consistent results)
- Olive oil or avocado oil: Adds moisture and tenderness (use neutral oil if preferred)
- Flaxseed meal (optional): For extra binding and nutrition, especially if you want to boost fiber
Substitution tips: Use gluten-free all-purpose flour in place of the oat and tapioca flours for a quicker mix, but expect slight texture changes. Swap maple syrup with agave or honey if you prefer. If nut allergies are a concern, sunflower seed flour can replace almond flour, but expect a different flavor profile.
Equipment Needed
- Mixing bowls: Medium to large, for combining flours and wet ingredients
- Stand mixer with dough hook or hand mixer: Helpful for kneading gluten-free dough, but you can also mix by hand with a sturdy spoon
- Baking sheet: Lined with parchment paper or a silicone baking mat to prevent sticking
- Kitchen scale: For best accuracy when measuring flours and ingredients (I use a simple digital scale from Ozeri that lasts forever)
- Measuring cups and spoons: For liquids and small ingredients
- Clean kitchen towel or plastic wrap: To cover dough during rising
- Cooling rack: For buns to cool evenly after baking
If you don’t have a stand mixer, no worries! Mixing by hand works fine—just expect a bit more arm work. Also, I recommend maintaining your baking mats by wiping them gently after use rather than washing with soap, to keep their non-stick surface intact longer.
Preparation Method
- Activate the yeast (10 minutes): In a small bowl, combine 1 cup (240 ml) of warm water (about 110°F/43°C), 1 tablespoon of maple syrup, and 2 ¼ teaspoons (one packet) of active dry yeast. Stir gently and let it sit until foamy and bubbly on top.
- Mix dry ingredients (5 minutes): In a large bowl, whisk together 1 ½ cups (150g) almond flour, 1 cup (90g) oat flour, ½ cup (60g) tapioca starch, 1 teaspoon sea salt, and 1 teaspoon baking soda.
- Combine wet and dry (5 minutes): Pour the yeast mixture into the dry ingredients along with 1 tablespoon apple cider vinegar and 2 tablespoons olive oil. Stir with a sturdy spoon or use a stand mixer with the dough hook on low speed until the dough comes together. It should be slightly sticky but hold shape.
- First rise (45 minutes): Cover the bowl with a clean towel or plastic wrap. Let it rest in a warm spot until the dough puffs up slightly. It won’t double like wheat dough but should feel airy and soft.
- Shape the buns (10 minutes): Lightly oil your hands and divide the dough into 6 equal portions (about 90g/3.2 oz each). Roll each into a smooth ball and place them spaced on a parchment-lined baking sheet. Gently flatten each bun to about 3 inches (7.5 cm) diameter.
- Second rise (20 minutes): Cover buns loosely and let them rise again until slightly puffed.
- Bake (20-25 minutes): Preheat oven to 375°F (190°C). Bake buns in the center rack until golden brown on top and firm to the touch. The internal temperature should reach roughly 205°F (96°C) for perfect doneness.
- Cool (at least 15 minutes): Transfer buns to a cooling rack to prevent sogginess. Resist the temptation to slice hot buns—they’ll be gummy. Let them cool completely for the best texture.
Tip: If your dough feels too sticky, sprinkle a little oat flour on your hands when shaping. Also, don’t rush the rising phases—gluten-free dough benefits from patience, even if it looks different from traditional wheat dough.
Cooking Tips & Techniques
Getting gluten-free dairy-free burger buns right is a bit of an art, but a few tricks make all the difference:
- Flour blends matter: Combining almond and oat flours gives you softness and structure. Straight almond flour can be too dense, and oat alone might be crumbly.
- Don’t skip the acid: Apple cider vinegar reacts with baking soda to create lift—without it, buns can turn out flat and dense.
- Temperature control: Keep your water warm but not hot when activating yeast. Too hot, and you’ll kill the yeast; too cold and it won’t activate properly.
- Gentle shaping: Gluten-free dough is delicate. Avoid overworking it to prevent dryness.
- Patience with rising: The dough won’t rise as much as wheat dough, so look for slight puffiness rather than doubling in size.
- Cooling is key: Let buns cool completely before slicing to prevent a gummy crumb.
In one of my early attempts, I ignored the vinegar and was left with buns that felt like rocks. Lesson learned the hard way! Also, I found that using a kitchen scale made the difference between a crumbly disaster and soft buns. When I forgot to cover the dough one time, the crust dried too quickly—so don’t skip that step.
Variations & Adaptations
This recipe is flexible, so you can tailor it to your preferences or dietary needs:
- Herb-Infused Buns: Add 1 tablespoon fresh chopped rosemary or thyme to the dry mix for savory flavor.
- Seeded Buns: Sprinkle sesame, poppy, or sunflower seeds on top before baking for texture and a nutty crunch.
- Grain-Free Option: Replace oat flour with additional almond flour and a tablespoon of coconut flour to keep it grain-free.
- Low-Sugar Version: Skip the maple syrup and substitute with 1 teaspoon of erythritol or monk fruit sweetener if you want to reduce carbs.
- Make-Ahead Friendly: Shape buns and freeze before second rise. Thaw in the fridge overnight and bake fresh.
I once made a batch with added smoked paprika and a dash of chipotle powder for a spicy twist—perfect for taco night! Feel free to experiment with your favorite spices, but keep the liquid balance in mind.
Serving & Storage Suggestions
Serve these buns fresh and slightly warm for the best experience. They pair wonderfully with classic burger fillings—grilled veggies, juicy beef or turkey patties, or plant-based options. I like to toast them lightly on a grill pan with a touch of olive oil to get a crisp edge.
These buns also go great with hearty soups or as sandwich bases for picnic lunches. If you want to store leftovers, wrap them tightly in plastic wrap or place in an airtight container:
- Refrigerator: Keeps for up to 4 days; reheat gently in a toaster or oven to regain softness.
- Freezer: Freeze for up to 3 months; thaw overnight in the fridge, then warm before serving.
Over time, the flavor deepens slightly, and the crumb becomes even more tender after a day or two. Just keep them sealed well to avoid drying out.
Nutritional Information & Benefits
Each bun contains approximately 150-180 calories, 6-8 grams of healthy fats, 4-5 grams of protein, and 10-12 grams of carbohydrates, depending on exact measurements and brands.
Key benefits include:
- Gluten-Free: Suitable for those with celiac disease or gluten sensitivity.
- Dairy-Free: Safe for lactose intolerance and dairy allergies.
- Rich in Healthy Fats: Thanks to almond flour and oils, supporting heart health.
- Whole-Grain Oats: Provide fiber and sustained energy.
As someone who pays close attention to balanced nutrition, I appreciate how this recipe feels nourishing without sacrificing indulgence. It’s a wholesome base you can feel good about serving any day.
Conclusion
If you’ve been craving burger buns that don’t crumble, lack flavor, or contain dairy and gluten, this recipe is a keeper. It’s straightforward enough for a weeknight but special enough to impress guests. I love how these buns bring everyone to the table, no matter their diet, and that soft, tender crumb keeps me coming back.
Feel free to tweak the flavors or add your own spin. Honestly, making these buns was one of those kitchen wins where I felt a little proud and a lot satisfied. I hope you find the same joy—and hey, if you try it, don’t hesitate to share your experience or any fun variations you come up with!
FAQs
Can I use a gluten-free all-purpose flour instead of almond and oat flours?
Yes, you can substitute with a quality gluten-free all-purpose blend, but the texture may change slightly. Your buns might be less nutty and more uniform in crumb.
How can I make these buns vegan?
This recipe is already dairy-free and egg-free. Just make sure your maple syrup or sweetener is vegan-friendly, and you’re good to go.
Why are my buns dense or crumbly?
Common causes include skipping the vinegar, not activating yeast properly, or incorrect flour ratios. Measure carefully and follow rising times for best results.
Can I freeze the buns after baking?
Absolutely! Cool completely, wrap tightly, and freeze for up to 3 months. Thaw overnight and warm before serving.
What’s the best way to store leftover buns?
Keep them in an airtight container at room temperature for 1-2 days or refrigerate for up to 4 days. Reheat gently to refresh softness.
By the way, if you enjoy gluten-free baking, you might appreciate my take on crispy garlic chicken or the comforting hearty vegetable stew—both perfect companions for your wholesome homemade buns.
Pin This Recipe!
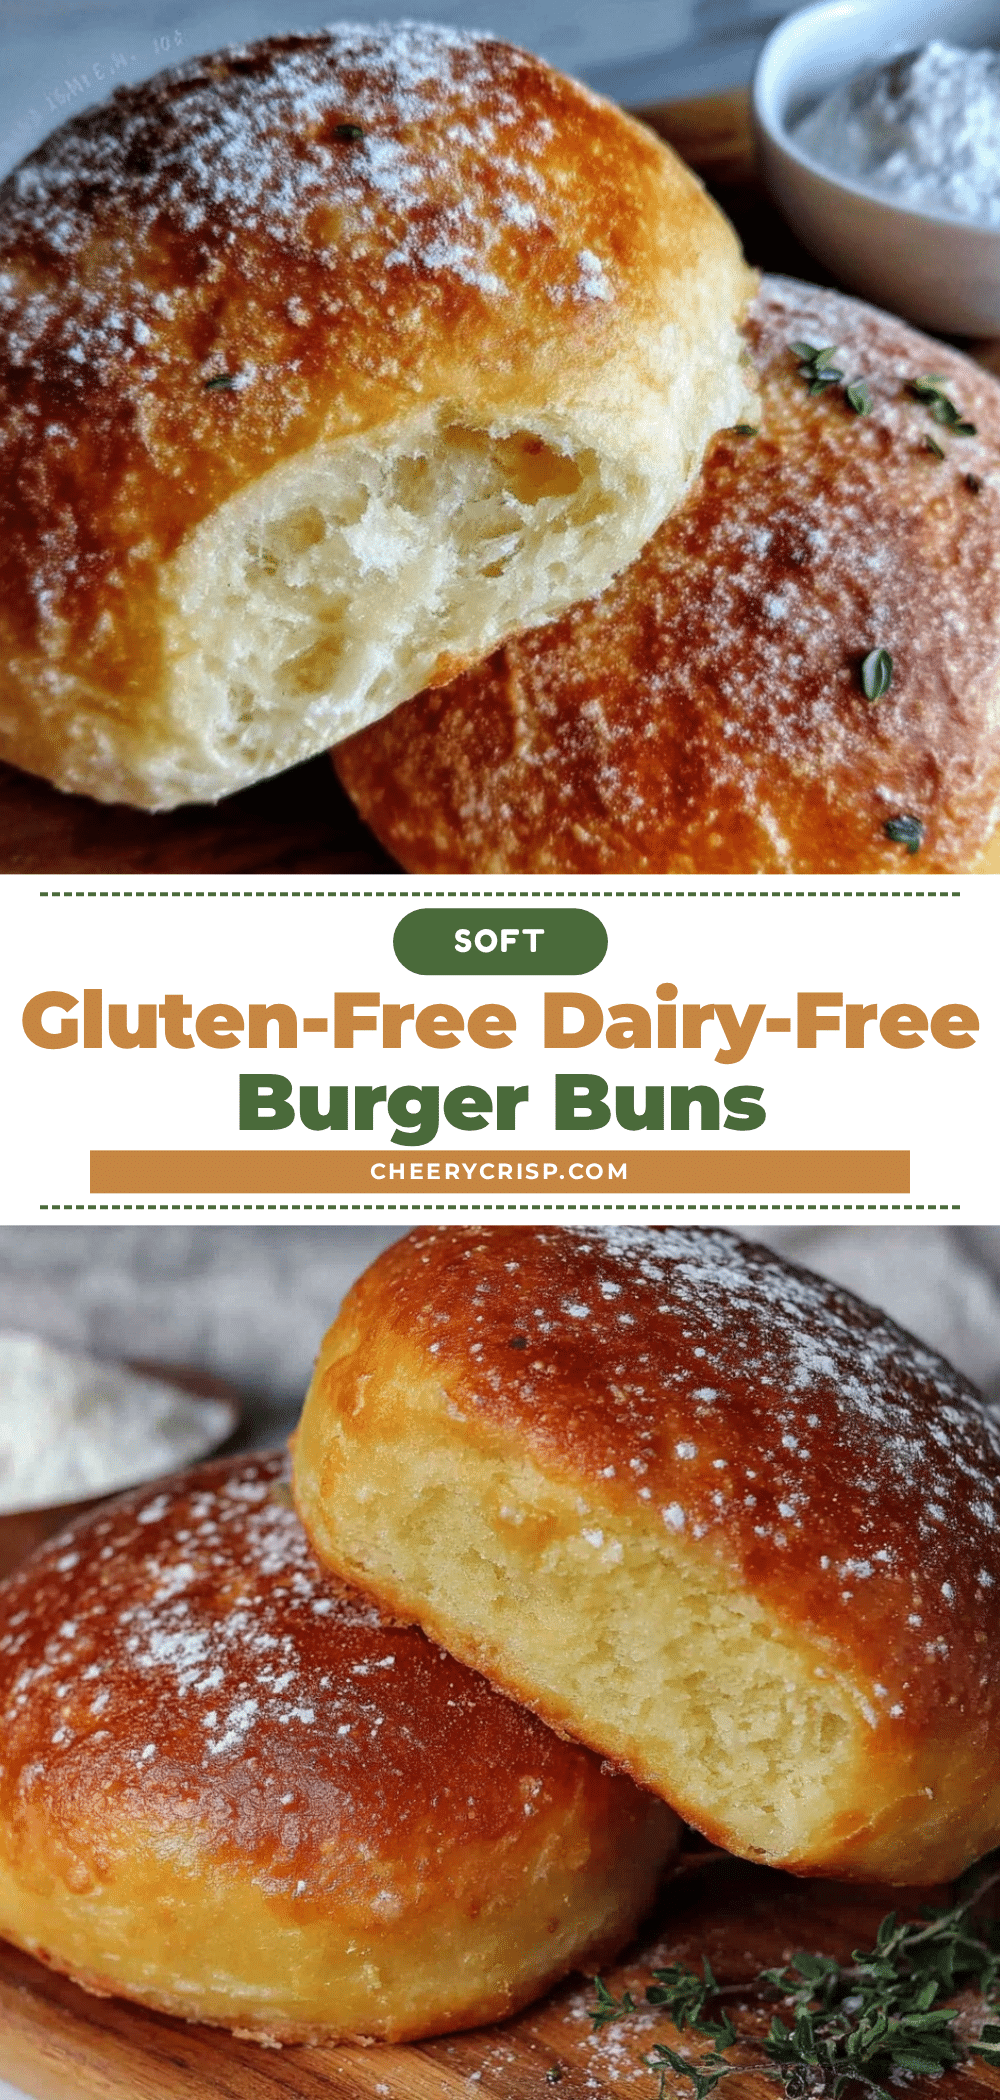
Wholesome Gluten-Free Dairy-Free Burger Buns

A soft, tender, and wholesome gluten-free and dairy-free burger bun recipe that is easy to make and perfect for any occasion. These buns have a delicate crumb and a gentle nutty flavor, ideal for those with dietary restrictions.
- Prep Time: 20 minutes
- Cook Time: 25 minutes
- Total Time: 1 hour 45 minutes
- Yield: 6 buns 1x
- Category: Bread
- Cuisine: American
Ingredients
- 1 ½ cups (150g) almond flour, blanched and finely ground
- 1 cup (90g) certified gluten-free oat flour
- ½ cup (60g) tapioca starch
- 1 teaspoon sea salt
- 1 teaspoon baking soda
- 1 cup (240 ml) warm water (about 110°F/43°C)
- 1 tablespoon maple syrup (raw or pure grade B recommended)
- 2 ¼ teaspoons (one packet) active dry yeast
- 1 tablespoon apple cider vinegar
- 2 tablespoons olive oil or avocado oil
- Flaxseed meal (optional, for extra binding and nutrition)
Instructions
- Activate the yeast: In a small bowl, combine warm water, maple syrup, and active dry yeast. Stir gently and let it sit until foamy and bubbly on top (about 10 minutes).
- Mix dry ingredients: In a large bowl, whisk together almond flour, oat flour, tapioca starch, sea salt, and baking soda (about 5 minutes).
- Combine wet and dry: Pour the yeast mixture into the dry ingredients along with apple cider vinegar and olive oil. Stir with a sturdy spoon or use a stand mixer with dough hook on low speed until dough comes together; it should be slightly sticky but hold shape (about 5 minutes).
- First rise: Cover the bowl with a clean towel or plastic wrap and let it rest in a warm spot until dough puffs up slightly (about 45 minutes).
- Shape the buns: Lightly oil your hands and divide dough into 6 equal portions (~3.2 oz/90g each). Roll each into a smooth ball and place on a parchment-lined baking sheet. Gently flatten each bun to about 3 inches (7.5 cm) diameter (about 10 minutes).
- Second rise: Cover buns loosely and let rise again until slightly puffed (about 20 minutes).
- Bake: Preheat oven to 375°F (190°C). Bake buns on center rack until golden brown and firm to touch, internal temperature about 205°F (96°C) (20-25 minutes).
- Cool: Transfer buns to a cooling rack and let cool completely (at least 15 minutes) before slicing to prevent gummy texture.
Notes
If dough feels too sticky, sprinkle oat flour on hands when shaping. Do not rush rising phases; gluten-free dough benefits from patience. Let buns cool completely before slicing to avoid gummy texture. Use kitchen scale for best accuracy. Maintain baking mats by wiping gently after use instead of washing with soap.
Nutrition
- Serving Size: 1 bun
- Calories: 165
- Sugar: 2
- Sodium: 220
- Fat: 7
- Saturated Fat: 0.5
- Carbohydrates: 11
- Fiber: 2
- Protein: 5
Keywords: gluten-free, dairy-free, burger buns, soft buns, almond flour, oat flour, healthy bread, allergy-friendly, vegan buns



