Love this? Save it for later!
Share the inspiration with your friends
Introduction
“I wasn’t expecting a kitchen disaster to turn into my best baking moment,” I confessed to my friend while wiping flour off the counter. It was a rainy Sunday afternoon, and I had ambitiously decided to make hot dog buns from scratch—gluten-free, no less. The first batch looked more like sad little pillows than buns, crumbly and falling apart at the slightest touch. Honestly, I was this close to giving up and ordering takeout.
But then, something clicked. A tweak here, a pinch there, and suddenly these soft gluten-free hot dog buns held together perfectly, defying all my earlier doubts. I remember biting into one, the warmth and softness surprising me, and thinking, “Why didn’t I do this sooner?”
If you’ve ever struggled with gluten-free bread that’s more crumb than bun, you know that feeling of frustration. Finding a recipe that creates buns soft enough to cradle your favorite hot dog but sturdy enough not to fall apart mid-bite is rare. These buns aren’t just about gluten-free convenience; they’re about capturing that nostalgic, comforting feel of classic hot dog buns—without the usual dry or crumbly pitfalls.
Maybe you’re here because you’re tired of gluten-free bread that breaks your heart (and your sandwich). Or maybe you just want a recipe that works every time, whether you’re grilling in July or making a cozy weeknight dinner. Either way, this recipe stuck with me because it’s practical, forgiving, and honestly, a little bit magical in the way it balances softness and structure. Let me tell you, once you try these, you’ll want to make them again and again.
Why You’ll Love This Recipe
After countless trials and plenty of kitchen messes, this soft gluten-free hot dog buns recipe emerged as my go-to for a few very good reasons:
- Quick & Easy: These buns come together in under 45 minutes, perfect for those last-minute cookouts or impromptu dinners.
- Simple Ingredients: No exotic flours or hard-to-find additives. Most ingredients are pantry staples or easy to source gluten-free brands.
- Perfect for Every Occasion: Whether it’s a backyard BBQ, a family movie night, or a picnic, these buns hold their shape and charm.
- Crowd-Pleaser: Even friends who aren’t gluten-free have asked me for this recipe—because the texture and flavor are just that good.
- Unbelievably Delicious: The crumb is soft and tender, with just the right hint of chewiness that makes each bite satisfying.
What sets this recipe apart is the balance of moisture and structure. Thanks to a clever mix of gluten-free flours combined with a touch of xanthan gum and a well-timed resting period, the buns rise beautifully and don’t crumble when you pack them with your favorite fillings. I’ve tested this recipe with everything from classic beef hot dogs to grilled veggies, and it always shines.
This isn’t just another gluten-free bread recipe—it’s a reliable companion for anyone craving that nostalgic bun experience without the gluten. Trust me, once you make these, you’ll understand why they’ve earned a permanent spot in my baking rotation.
What Ingredients You Will Need
This recipe uses simple, wholesome ingredients to deliver bold flavor and a satisfying texture without fuss. Most are pantry staples, with room for easy substitutions if needed.
- Gluten-Free All-Purpose Flour Blend (2 ½ cups / 315g) – I like Bob’s Red Mill 1-to-1 gluten-free flour for consistent texture.
- Xanthan Gum (1 ½ tsp) – Helps bind the dough and gives that perfect chewy bite.
- Baking Powder (1 tsp) – Adds a little lift and keeps the buns light.
- Instant Yeast (2 ¼ tsp / one packet) – For that classic bread rise and airy crumb.
- Granulated Sugar (2 tbsp) – Feeds the yeast and adds a touch of sweetness.
- Salt (1 tsp) – Balances flavor and enhances the dough’s taste.
- Warm Water (1 cup / 240ml) – Helps activate the yeast; should be about 110°F (43°C).
- Milk or Dairy-Free Milk (½ cup / 120ml) – Adds moisture and tenderness (use almond or oat milk for dairy-free).
- Unsalted Butter (4 tbsp / 56g), melted – Adds richness and softness.
- Egg (1 large) – Adds structure and color to the buns.
- Apple Cider Vinegar (1 tsp) – Reacts with baking powder for extra lift and keeps crumb tender.
Substitution tips: For a dairy-free option, swap butter with coconut oil and use plant-based milk. If you don’t have xanthan gum, psyllium husk powder can work but may alter texture slightly.
Seasonal note: If you want a subtle flavor twist, adding a teaspoon of dried herbs like rosemary or thyme can be delightful — especially when serving with grilled sausages or veggie dogs.
Equipment Needed
- Mixing Bowls: A large bowl for mixing dough and a smaller one for wet ingredients is handy.
- Stand Mixer or Hand Mixer with Dough Hook: While you can mix by hand, a stand mixer makes kneading the gluten-free dough easier and more consistent.
- Baking Sheet: A rimmed sheet lined with parchment paper works best to keep buns from sticking.
- Kitchen Scale: For precise measurements, especially important with gluten-free flours.
- Thermometer: Useful to check water temperature for yeast activation (aim for around 110°F / 43°C).
- Pastry Brush: To brush melted butter on buns after baking for that lovely shine and softness.
If you don’t have a stand mixer, no worries—using a sturdy wooden spoon and some elbow grease works fine. I’ve often made these buns while my mixer was out for repairs (yes, I forgot to clean it properly once and it broke mid-batch!).
For budget-friendly options, parchment paper and a simple baking sheet suffice. No need for fancy bread pans here.
Preparation Method
- Activate the Yeast (5 minutes): In a small bowl, combine warm water (110°F / 43°C), sugar, and instant yeast. Stir gently and let it sit until foamy and bubbly—about 5 minutes. If it doesn’t foam, your yeast might be expired or the water too hot/cold.
- Mix Dry Ingredients (2 minutes): In a large mixing bowl, whisk together gluten-free flour blend, xanthan gum, baking powder, and salt. This ensures even distribution and prevents clumps.
- Combine Wet Ingredients (2 minutes): In another bowl, whisk the egg, melted butter, milk (or dairy-free alternative), and apple cider vinegar.
- Form the Dough (5 minutes): Pour the yeast mixture and wet ingredients into the dry mix. Use a stand mixer with a dough hook on low speed, or a wooden spoon if mixing by hand, until combined. The dough should be sticky but manageable—if it’s too dry, add water one tablespoon at a time.
- First Rise (30 minutes): Cover the bowl with a clean kitchen towel or plastic wrap. Place it in a warm, draft-free spot. The dough should puff up slightly but not double (gluten-free dough behaves differently). This rest helps hydrate the flours and improves texture.
- Shape the Buns (10 minutes): Line a baking sheet with parchment paper. Wet your hands slightly (this prevents sticking) and divide dough into 6-8 equal portions (about 100g / 3.5 oz each). Shape each into a smooth oval, placing them spaced apart on the sheet.
- Second Rise (20 minutes): Cover the shaped buns lightly with a towel and let them rest again until slightly puffed. This step is crucial for softness.
- Bake (18-22 minutes): Preheat your oven to 375°F (190°C). Bake the buns until golden brown on top and firm to the touch. An internal temperature around 200°F (93°C) means they’re done.
- Brush with Butter (2 minutes): Remove buns from oven and immediately brush the tops with melted butter for a soft, shiny finish.
- Cool Before Serving: Let buns cool at least 10 minutes on a wire rack. This resting helps them set and prevents crumbling when sliced.
Pro tip: If your dough feels too sticky when shaping, wet your hands instead of adding more flour. Adding extra flour can dry out the buns. Also, avoid skipping the second rise—it makes a noticeable difference in softness.
Cooking Tips & Techniques
Gluten-free baking can be tricky, but a few tricks make these buns foolproof:
- Use Fresh Yeast: Yeast that’s too old won’t rise well. Always check the expiration date and proof your yeast before mixing.
- Measure Ingredients Accurately: Gluten-free flours vary, so weighing ingredients ensures consistency. This helped me avoid dough that was either too wet or too dry.
- Patience with Rising: Gluten-free dough doesn’t double like traditional dough. Look for slight puffiness instead of exact volume increase.
- Don’t Skip the Vinegar: The acid reacts with baking powder to help with rise and tender crumb.
- Proper Oven Temperature: Baking at 375°F (190°C) gives a nice crust without drying out the bun inside.
- Rest After Baking: Cooling buns prevents them from turning gummy when sliced.
I once tried rushing the second rise because I was hungry, and the buns turned out dense and crumbly. Lesson learned: slow and steady wins the gluten-free bread race!
Variations & Adaptations
Want to switch things up? Here are some tasty variations you can try:
- Herb-Infused Buns: Add 1 tsp dried rosemary or thyme to the dry ingredients for a savory twist perfect with grilled sausages.
- Sweet Potato Buns: Swap ½ cup of the flour blend for cooked, mashed sweet potato for natural sweetness and extra moisture.
- Seeded Topping: Brush buns with egg wash before baking and sprinkle with sesame or poppy seeds for texture and visual appeal.
- Dairy-Free Version: Use coconut oil instead of butter and almond or oat milk to keep it allergy-friendly.
- Mini Slider Buns: Shape smaller dough balls (about 50g / 1.75 oz) for bite-sized sliders—perfect for parties.
Personally, I love the herb variation when serving alongside my crispy garlic chicken—the flavors just sing together. Feel free to mix and match adaptations to find your favorite combo.
Serving & Storage Suggestions
These buns are best served warm, fresh from the oven or gently reheated. Toasting them lightly on a grill or pan adds a lovely crunch that contrasts with the soft crumb inside.
Pair them with your favorite hot dogs, sausages, or even grilled veggies. They also make a great base for creative sandwiches—think pulled pork or tangy coleslaw.
To store, place cooled buns in an airtight container or resealable bag. They keep well at room temperature for 2 days.
For longer storage, freeze them individually wrapped in plastic and foil. When ready to eat, thaw at room temperature and warm in the oven at 350°F (175°C) for 5-7 minutes.
Flavors tend to mellow and meld beautifully after a day, so these buns actually taste even better the next day if properly stored.
Nutritional Information & Benefits
Each bun (based on 8 servings) contains approximately:
| Calories | Carbohydrates | Protein | Fat | Fiber |
|---|---|---|---|---|
| 160 kcal | 28g | 3g | 5g | 2g |
These gluten-free buns provide a comforting source of energy without gluten’s potential irritants. The use of xanthan gum and apple cider vinegar supports texture and digestion, while the balanced ingredients avoid excess sugars or unhealthy fats.
For those with gluten sensitivity or celiac disease, these buns offer a safe and satisfying alternative to traditional hot dog buns. The option to use dairy-free ingredients also makes this recipe friendly for various dietary needs.
Conclusion
Soft gluten-free hot dog buns that hold together perfectly are no longer a kitchen unicorn. This recipe delivers on texture, taste, and reliability, making gluten-free bun-making approachable and enjoyable.
Don’t hesitate to tweak the recipe to suit your tastes—whether that’s adding herbs, switching flours, or trying new toppings. I love this recipe because it brings a little joy and ease to gluten-free cooking, and I hope it does the same for you.
Give these buns a try, and I’d love to hear how you customize them or what your favorite fillings are. Drop a comment below or share your version—you know that feeling when a recipe just clicks? That’s what I want for you here.
Happy baking!
FAQs About Soft Gluten-Free Hot Dog Buns
Can I make these buns ahead of time?
Yes! You can prepare the dough and shape the buns a day ahead, then refrigerate covered overnight. Let them come to room temperature and rise slightly before baking.
What if I don’t have xanthan gum?
You can substitute with psyllium husk powder (about 1 tablespoon) or a gluten-free flour blend that already contains a binder. Texture may vary slightly.
Can I freeze these buns?
Definitely. Cool completely, wrap individually, and freeze. Thaw and warm before serving for best results.
Are these buns dairy-free?
The original recipe uses butter and milk, but you can swap for dairy-free alternatives like coconut oil and plant-based milk to make it dairy-free.
Why do my gluten-free buns sometimes crumble?
Common reasons include insufficient binding agents (like xanthan gum), overbaking, or skipping the resting periods. Following the recipe steps carefully helps avoid crumbling.
Pin This Recipe!
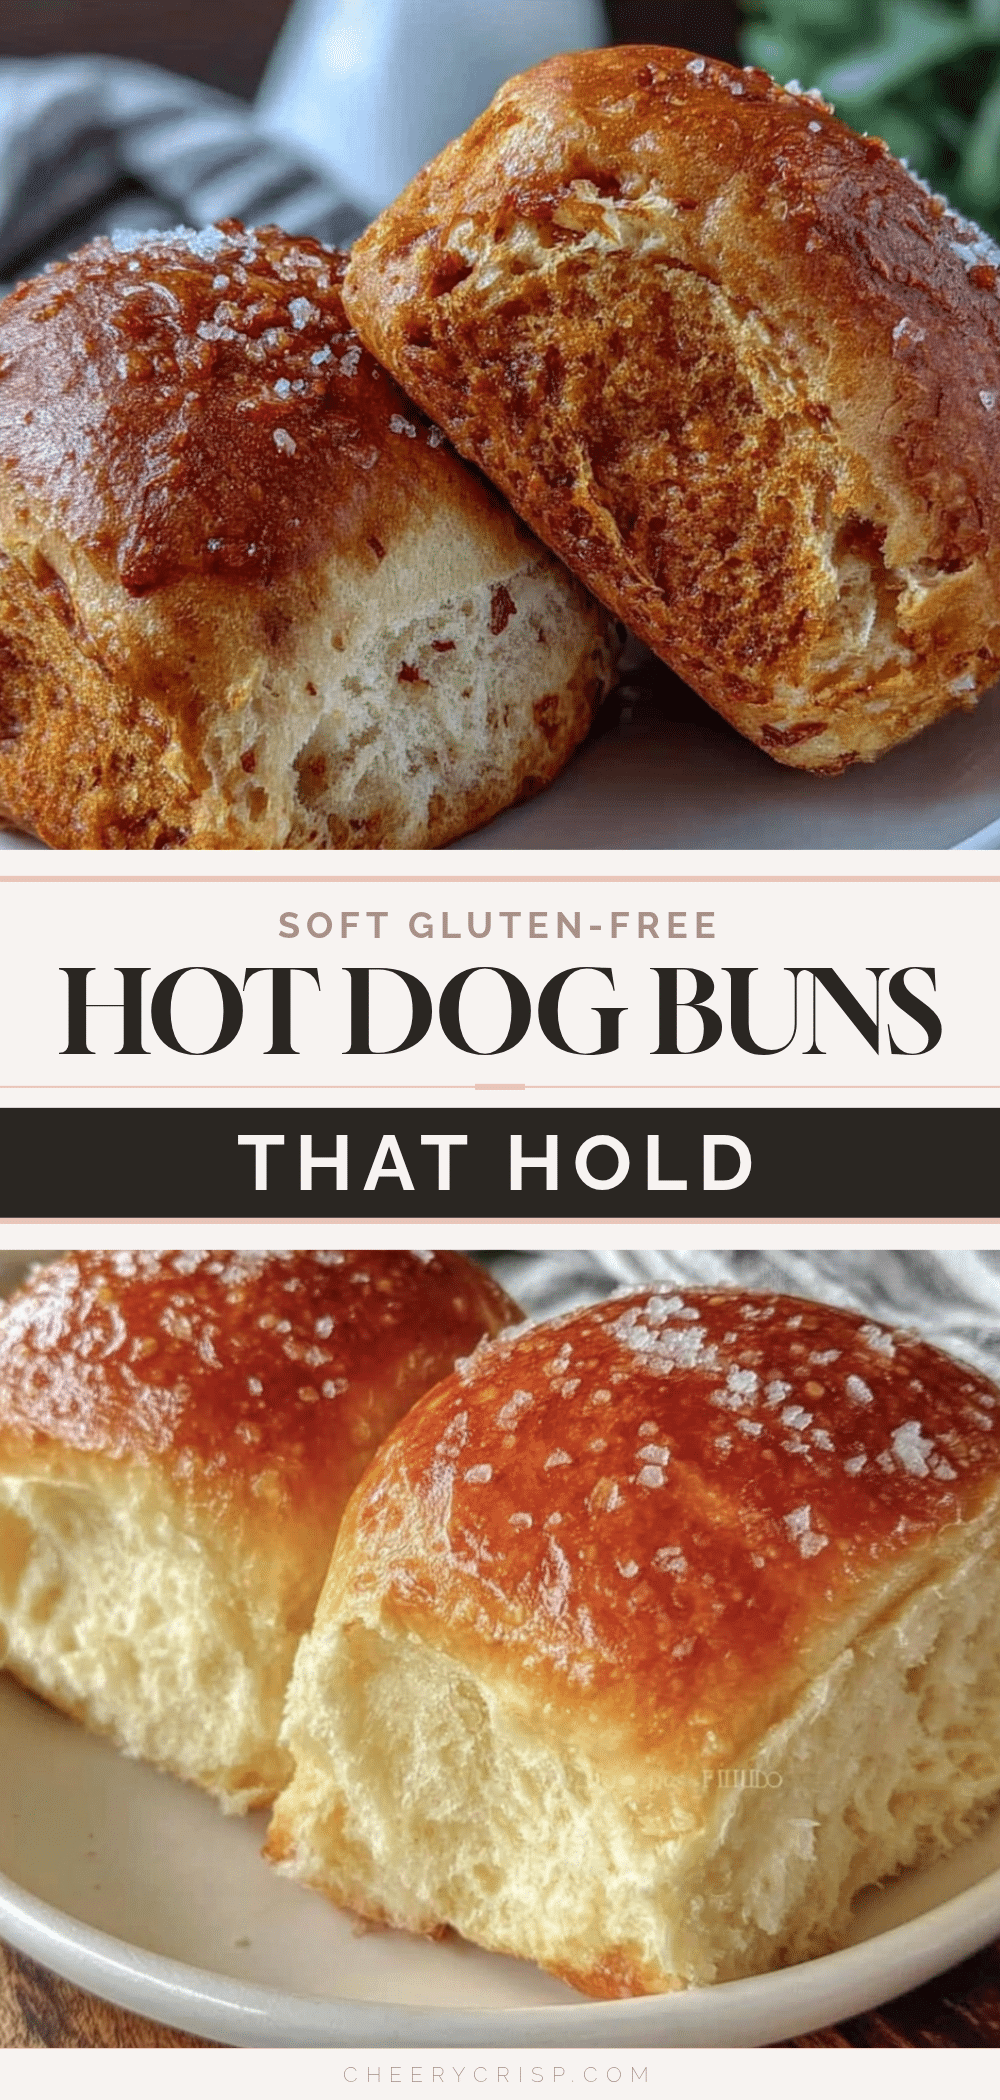
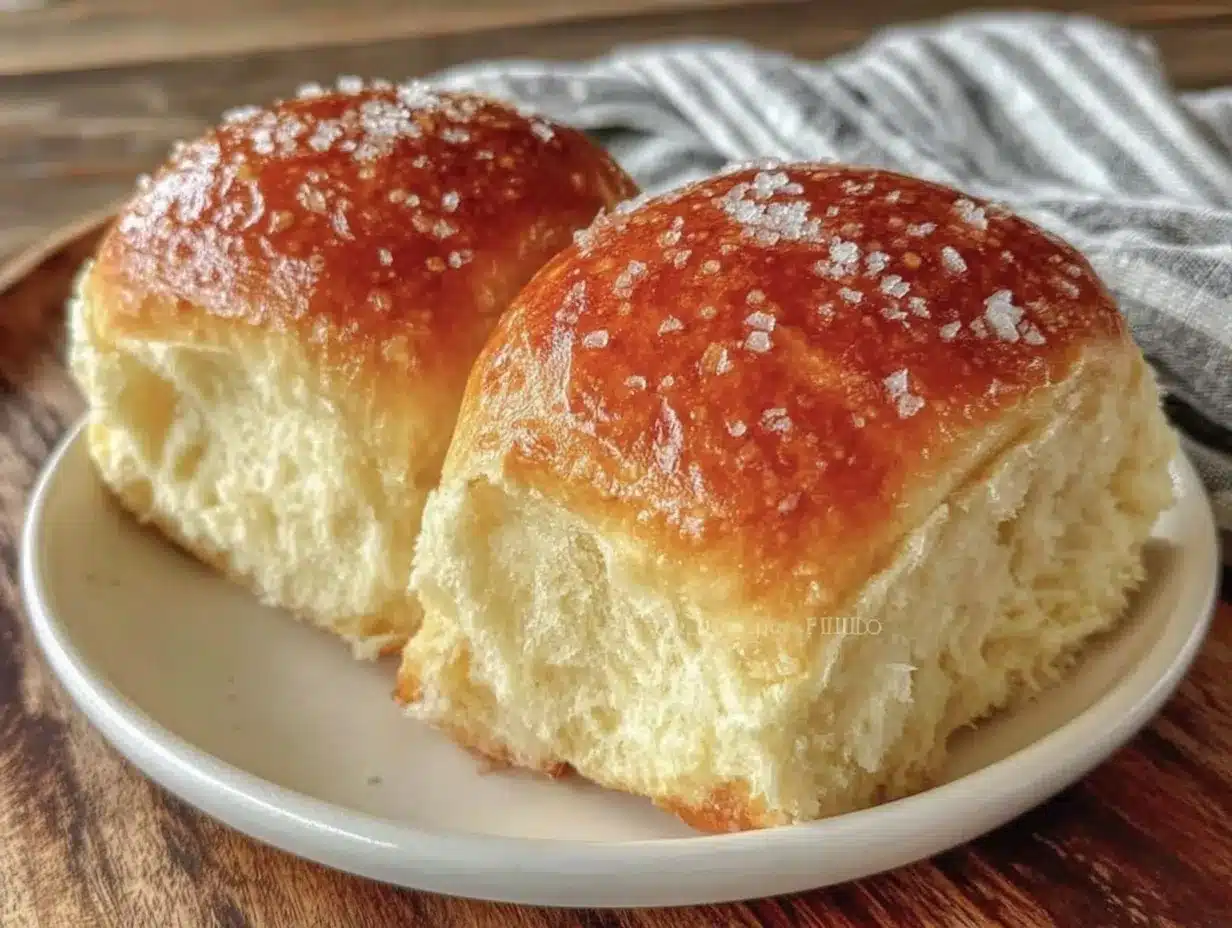
Soft Gluten-Free Hot Dog Buns Easy Recipe That Holds Together Perfectly
These soft gluten-free hot dog buns are easy to make, hold together perfectly, and offer a nostalgic, comforting texture without the usual dry or crumbly pitfalls.
- Prep Time: 10 minutes
- Cook Time: 20 minutes
- Total Time: 45 minutes
- Yield: 6-8 buns 1x
- Category: Bread
- Cuisine: American
Ingredients
- 2 ½ cups (315g) gluten-free all-purpose flour blend (e.g., Bob’s Red Mill 1-to-1 gluten-free flour)
- 1 ½ tsp xanthan gum
- 1 tsp baking powder
- 2 ¼ tsp (one packet) instant yeast
- 2 tbsp granulated sugar
- 1 tsp salt
- 1 cup (240ml) warm water (about 110°F / 43°C)
- ½ cup (120ml) milk or dairy-free milk (almond or oat milk for dairy-free)
- 4 tbsp (56g) unsalted butter, melted (or coconut oil for dairy-free)
- 1 large egg
- 1 tsp apple cider vinegar
Instructions
- Activate the yeast: In a small bowl, combine warm water (110°F / 43°C), sugar, and instant yeast. Stir gently and let it sit until foamy and bubbly, about 5 minutes.
- Mix dry ingredients: In a large mixing bowl, whisk together gluten-free flour blend, xanthan gum, baking powder, and salt.
- Combine wet ingredients: In another bowl, whisk the egg, melted butter, milk (or dairy-free alternative), and apple cider vinegar.
- Form the dough: Pour the yeast mixture and wet ingredients into the dry mix. Mix with a stand mixer dough hook on low speed or by hand with a wooden spoon until combined. The dough should be sticky but manageable; add water one tablespoon at a time if too dry.
- First rise: Cover the bowl with a kitchen towel or plastic wrap and place in a warm, draft-free spot for 30 minutes until slightly puffed.
- Shape the buns: Line a baking sheet with parchment paper. Wet your hands slightly and divide dough into 6-8 equal portions (about 100g / 3.5 oz each). Shape each into a smooth oval and place spaced apart on the sheet.
- Second rise: Cover the shaped buns lightly with a towel and let rest for 20 minutes until slightly puffed.
- Bake: Preheat oven to 375°F (190°C). Bake buns for 18-22 minutes until golden brown and firm to the touch. Internal temperature should reach about 200°F (93°C).
- Brush with butter: Remove buns from oven and immediately brush tops with melted butter for a soft, shiny finish.
- Cool before serving: Let buns cool at least 10 minutes on a wire rack to set and prevent crumbling when sliced.
Notes
Use fresh yeast and proof it properly. Measure ingredients accurately by weight for best results. Do not skip the second rise for optimal softness. Wet hands when shaping dough to prevent sticking instead of adding extra flour. Vinegar reacts with baking powder to improve rise and crumb tenderness. Cool buns before slicing to avoid crumbling. For dairy-free, substitute butter with coconut oil and milk with plant-based milk. Psyllium husk powder can replace xanthan gum but may alter texture slightly.
Nutrition
- Serving Size: 1 bun
- Calories: 160
- Sugar: 2
- Sodium: 200
- Fat: 5
- Saturated Fat: 3
- Carbohydrates: 28
- Fiber: 2
- Protein: 3
Keywords: gluten-free hot dog buns, gluten-free bread, soft buns, easy gluten-free baking, dairy-free option, gluten-free baking